ioSafe Solo Install (Part 2) – Using the BDBB WHS Add-in!
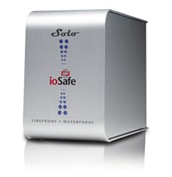 In Part 1, we covered the unboxing, installation and setup of the new ioSafe 1 TB external hard drive that is both fire and water proof. You can find the entire post here.
By now, I have the ioSafe running and the contents of my Home Server folders backed up and protected. There is one thing left to do.
In Part 2, we are going to look at the steps necessary to set up my WHS so that I can use it to backup my PC backups. We will install the BDBB add-in as well as run it. Here we go.
Let’s start by getting the add-in. Alex "Big Al" Kuretz, developed this add-in after Microsoft “promised (it) back at CES 2008 but failed to deliver in PP1.” Thanks Big Al! He states that it “allows the user to backup the WHS Backup Database which stores all your client PC backups.” Exactly what I am looking for to fill my new drive with helpful stuff.
(Note: I am assuming that you know something about installing WHS add-ins)  Once I downloaded the necessary file, I unzipped it into the software/add-in folder on the Home Server and it is ready to install.
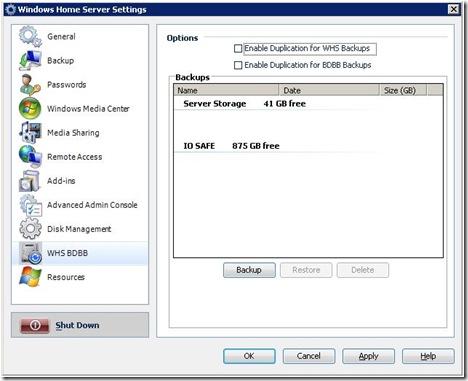
After the install is complete, I will select the new add-in from Settings / WHS BDBB.
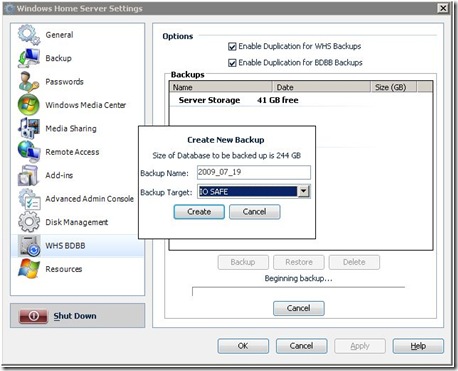
To be extra safe (and because I have a little room) I am going to choose both Enable Duplication for WHS and Enable Duplication for Backups. I enabled them one at a time to make sure it didn’t fill up my storage drives.
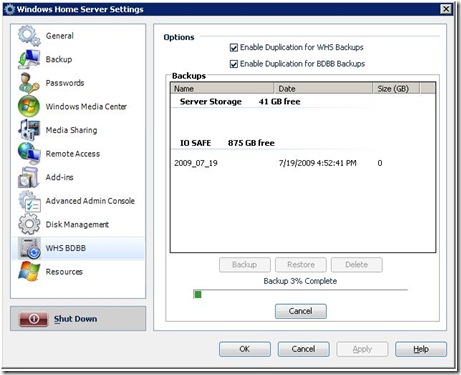
Then I kick off the back ups.
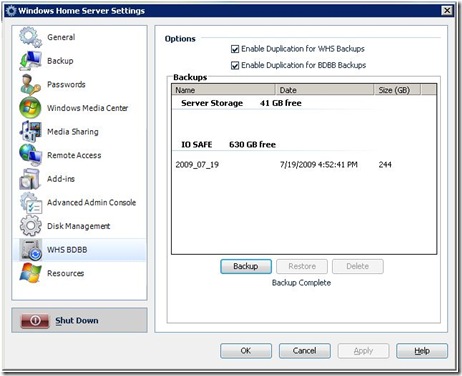
After the backup ran (It took a couple hours I think. I had dinner while I waited!), my storage looked something like this…
Total storage looked something like this…
So everything is in an working. The BDBB add-in is everything it is advertized to be and I will continue to use it in the future. Love my new ioSafe drive and look forward to sleeping better at night knowing my data is protected. Really protected!
Remember, I search (and safely store data) so you don’t have to!
