Drobo Dashboard 2.0 Continued: Tools, Drobo Copy, Dashboard Preferences and Some Final Thoughts
 I have been reviewing a Drobo in some form or fashion since December 2010. Some reviews over at the Home Server Show and some here at the Average Guy. The first part of this review can be found at Drobo Has a New Dashboard! Welcome Version 2.0 with a Drobo S and 5 Drives In recent months, Drobo has released a new version of their dashboard (v2.0.3 updated for this review) for both their consumer and enterprise products. For a company that is taking steps in the right direction when it comes to back up hardware, this software upgrade replaces a fairly vanilla offering from the last several years. It’s a definite upgrade and one that users of a Drobo should test out quickly. I found no reasons not to upgrade. If you are a Drobo owner, the upgrade is free.
With the new Dashboard, you can: (from Drobo.com)
- View all your Drobos in one window
- Get capacity and status for each Drobo
- DroboCopy tasks run in the background
- Get email alerts about your Drobo
Here is a good overview of the Drobo Dashboard v2 from Mario Blandini.
Tools
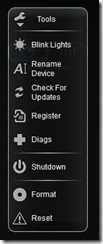
From the Capacity and Tools option in the Dashboard select Tools. This gives the user the ability to do several functional and maintenance items. Blink the lights, rename the device, check for software updates, register your Drobo, perform some system diagnostics, shutdown your Drobo, format it and reset the unit.
 Let’s look at them one at a time!
1. Blink Lights – I’m sure there is a good reason to blink the lights on a Drobo, but this might be the least used function in the tools bar. I did it several time to impress my friends when on a Skype call, but that was it. When selected, it will blink the light between red and green.
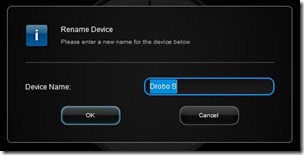
2. Rename Device – If I had two of the same unit or if I just wanted to rename my Drobo to “Bob” this would be the place.
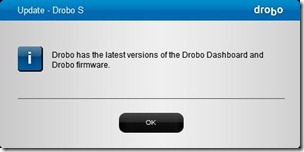
3. Check for Updates – Between this post and the first one, Drobo upgraded the software to version 2.0.3! The software does automatically check for updates, but in case you skipped it the last time, you can update it from here. I was already up to date!
4. Register – Takes you to the Drobo site for registration of the unit. http://support.drobo.com/app/utils/login_form
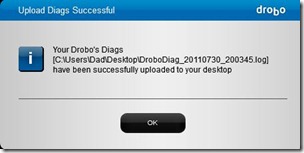
5. Diags – Runs some very quick diagnostics and puts a log file to your desktop for review. Support will most likely ask for this if you are experiencing problems. The file itself is unreadable by the end user.
6. Shutdown – Performs a clean shutdown of the unit.
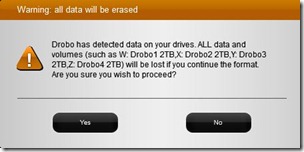
7. Format – Use this to change the way the Drobo has been formatted. For the purposes of this review, the Drobo was formatted into 4 – 2TB volumes. Selecting the format option starts with a prompt warning you that all your data will be deleted.
The rest of the process is similar to the format this is done when first installing the Drobo. See my first post here.
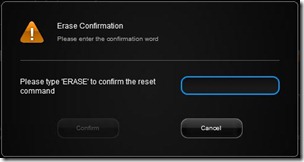
8. Reset – Made a horrible mistake and just need to start over? This is your tool.
Drobo Copy
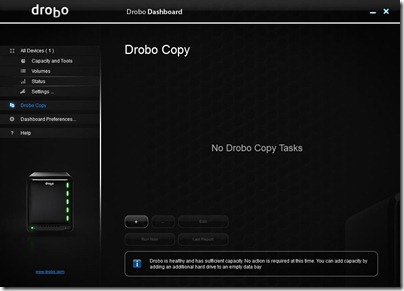
Drobo Copy is a feature that enables you to easily backup files to your Drobo device.
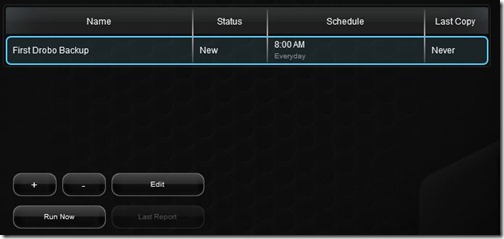
From this screen, you can add, edit, delete or run a Drobo Copy task. You can also view a report of the last run of a particular Drobo Copy task.
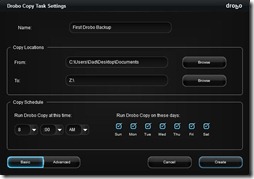
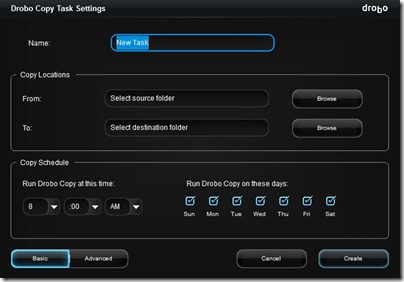
Selecting the + option allows me to create a new copy object.
I will rename the copy to ‘First Drobo Backup’
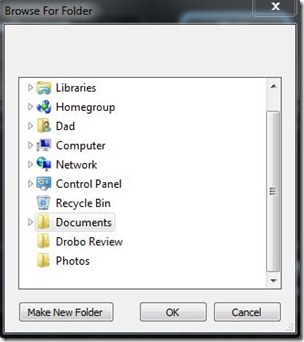
Select the source folder at my Documents Folder from my PC
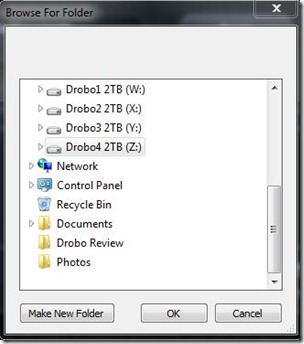
Select the destination folder as one of the Drobo volumes
Leave the default time and days of the week to [8:00] AM and All Days
| Basic View | Advanced View |
 | 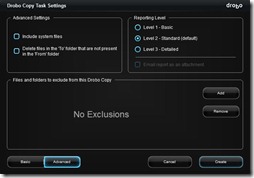 |
In Advanced view, the options to include system files. Delete files in the ‘To’ folder that are not present in the ‘From’ folder, set the Reporting Level and add exclusions are optional. For the purposes of this review, they will remain default.
This would be a very handy way to back up the files on your computer if you had no other form of back up. Set up is very easy to use and understand as well as manage.
To run the backup manually, use the ‘Run Now’ button at the bottom of the menu. Select ‘Edit’ to make changes to the scheduled jobs.
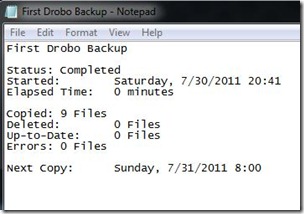
One a job is run, the ‘Last Report” option is available. When completed, it looks something like this.
From the Drobo Website:
For Drobo Dashboard version 2.0 or later:
- See Using Drobo Copy to Back Up Data in the Drobo Online User Guide.
- To create a new Drobo Copy, see Creating a New Drobo Copy in the Drobo Online User Guide. (Also see "Information for Advanced Settings" below in this article.)
- To run a Drobo Copy now (manually), see Running a Drobo Copy Now in the Drobo Online User Guide.
- To review a report of Drobo Copy activities, see Reviewing the Last Report for a Drobo Copy in the Drobo Online User Guide.
Dashboard Preferences
There two options under the Dashboard Preferences – Dashboard Settings and Email Settings
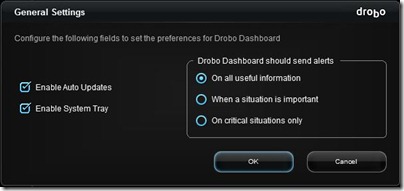
Under Dashboard Settings, a General Settings window appears. The options to Auto Update, Enable System Tray functionality (which means it is running even if the software is closed) and Alert configuration.
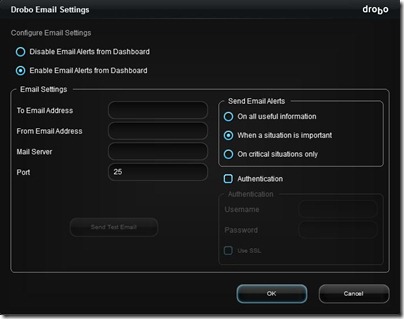
If I wanted to configure Email Alerts, I could do that in the Email Setting Page. This option is for more advanced users. More information on setting up Email Alerts can be found here.
Conclusion
The upgrade to the 2.0 Software was a huge improvement over the 1.0 version. A better interface, easier to use features and a more intuitive layout is a big plus for the average guy. There is no reason not to move to this version of the Drobo Dashboard and if you are just purchasing a Drobo, the dashboard should be a tremendous help. Nice work Drobo!
So what is next?
In the next review, I will atake a look at how it can be used with different applications including Windows Home Server 2011 and Oracle’s Virtual Box.
Jim Collison is a blogger and podcaster for HomeServerShow.com and TheAverageGuy.tv.
Full Disclosure – Drobo provided an evaluation unit with drives for this review.



One thought on “Drobo Dashboard 2.0 Continued: Tools, Drobo Copy, Dashboard Preferences and Some Final Thoughts”