The Nest Protect – Smoke + CO Alarm: About, Unboxed and Installed
My Nest thermostat is not so lonely anymore! Thanks to The Average Guy Tech Scholarship Fund I have the pleasure of reviewing the latest from Nest. The Nest Protect is a smart smoke and carbon monoxide detector and that doesn’t take much when compared to the average home smoke and carbon monoxide detectors. The biggest and most interesting part of the Nest Protect for me is the fact that it doesn’t over react.
 I think we all have cooked something a little to well done and opened the oven to take care of the issue only to have another issue. The smoke detector telling you that your food is burnt and sending out an annoying loud beeping alarm that requires you to press its button or waving a hand towel at it to clear the air before the annoying beeping will stop. Have you had your smoke alarm go off in the middle of the night? Do you have kids that get woken up and scared by the loud beeping? Have you thought about disconnecting them? Do you really want to do away with your smoke detectors because they cause more of an annoyance then good? Nest says this is a dangerous side effect of something that is trying to protect you and I agree.
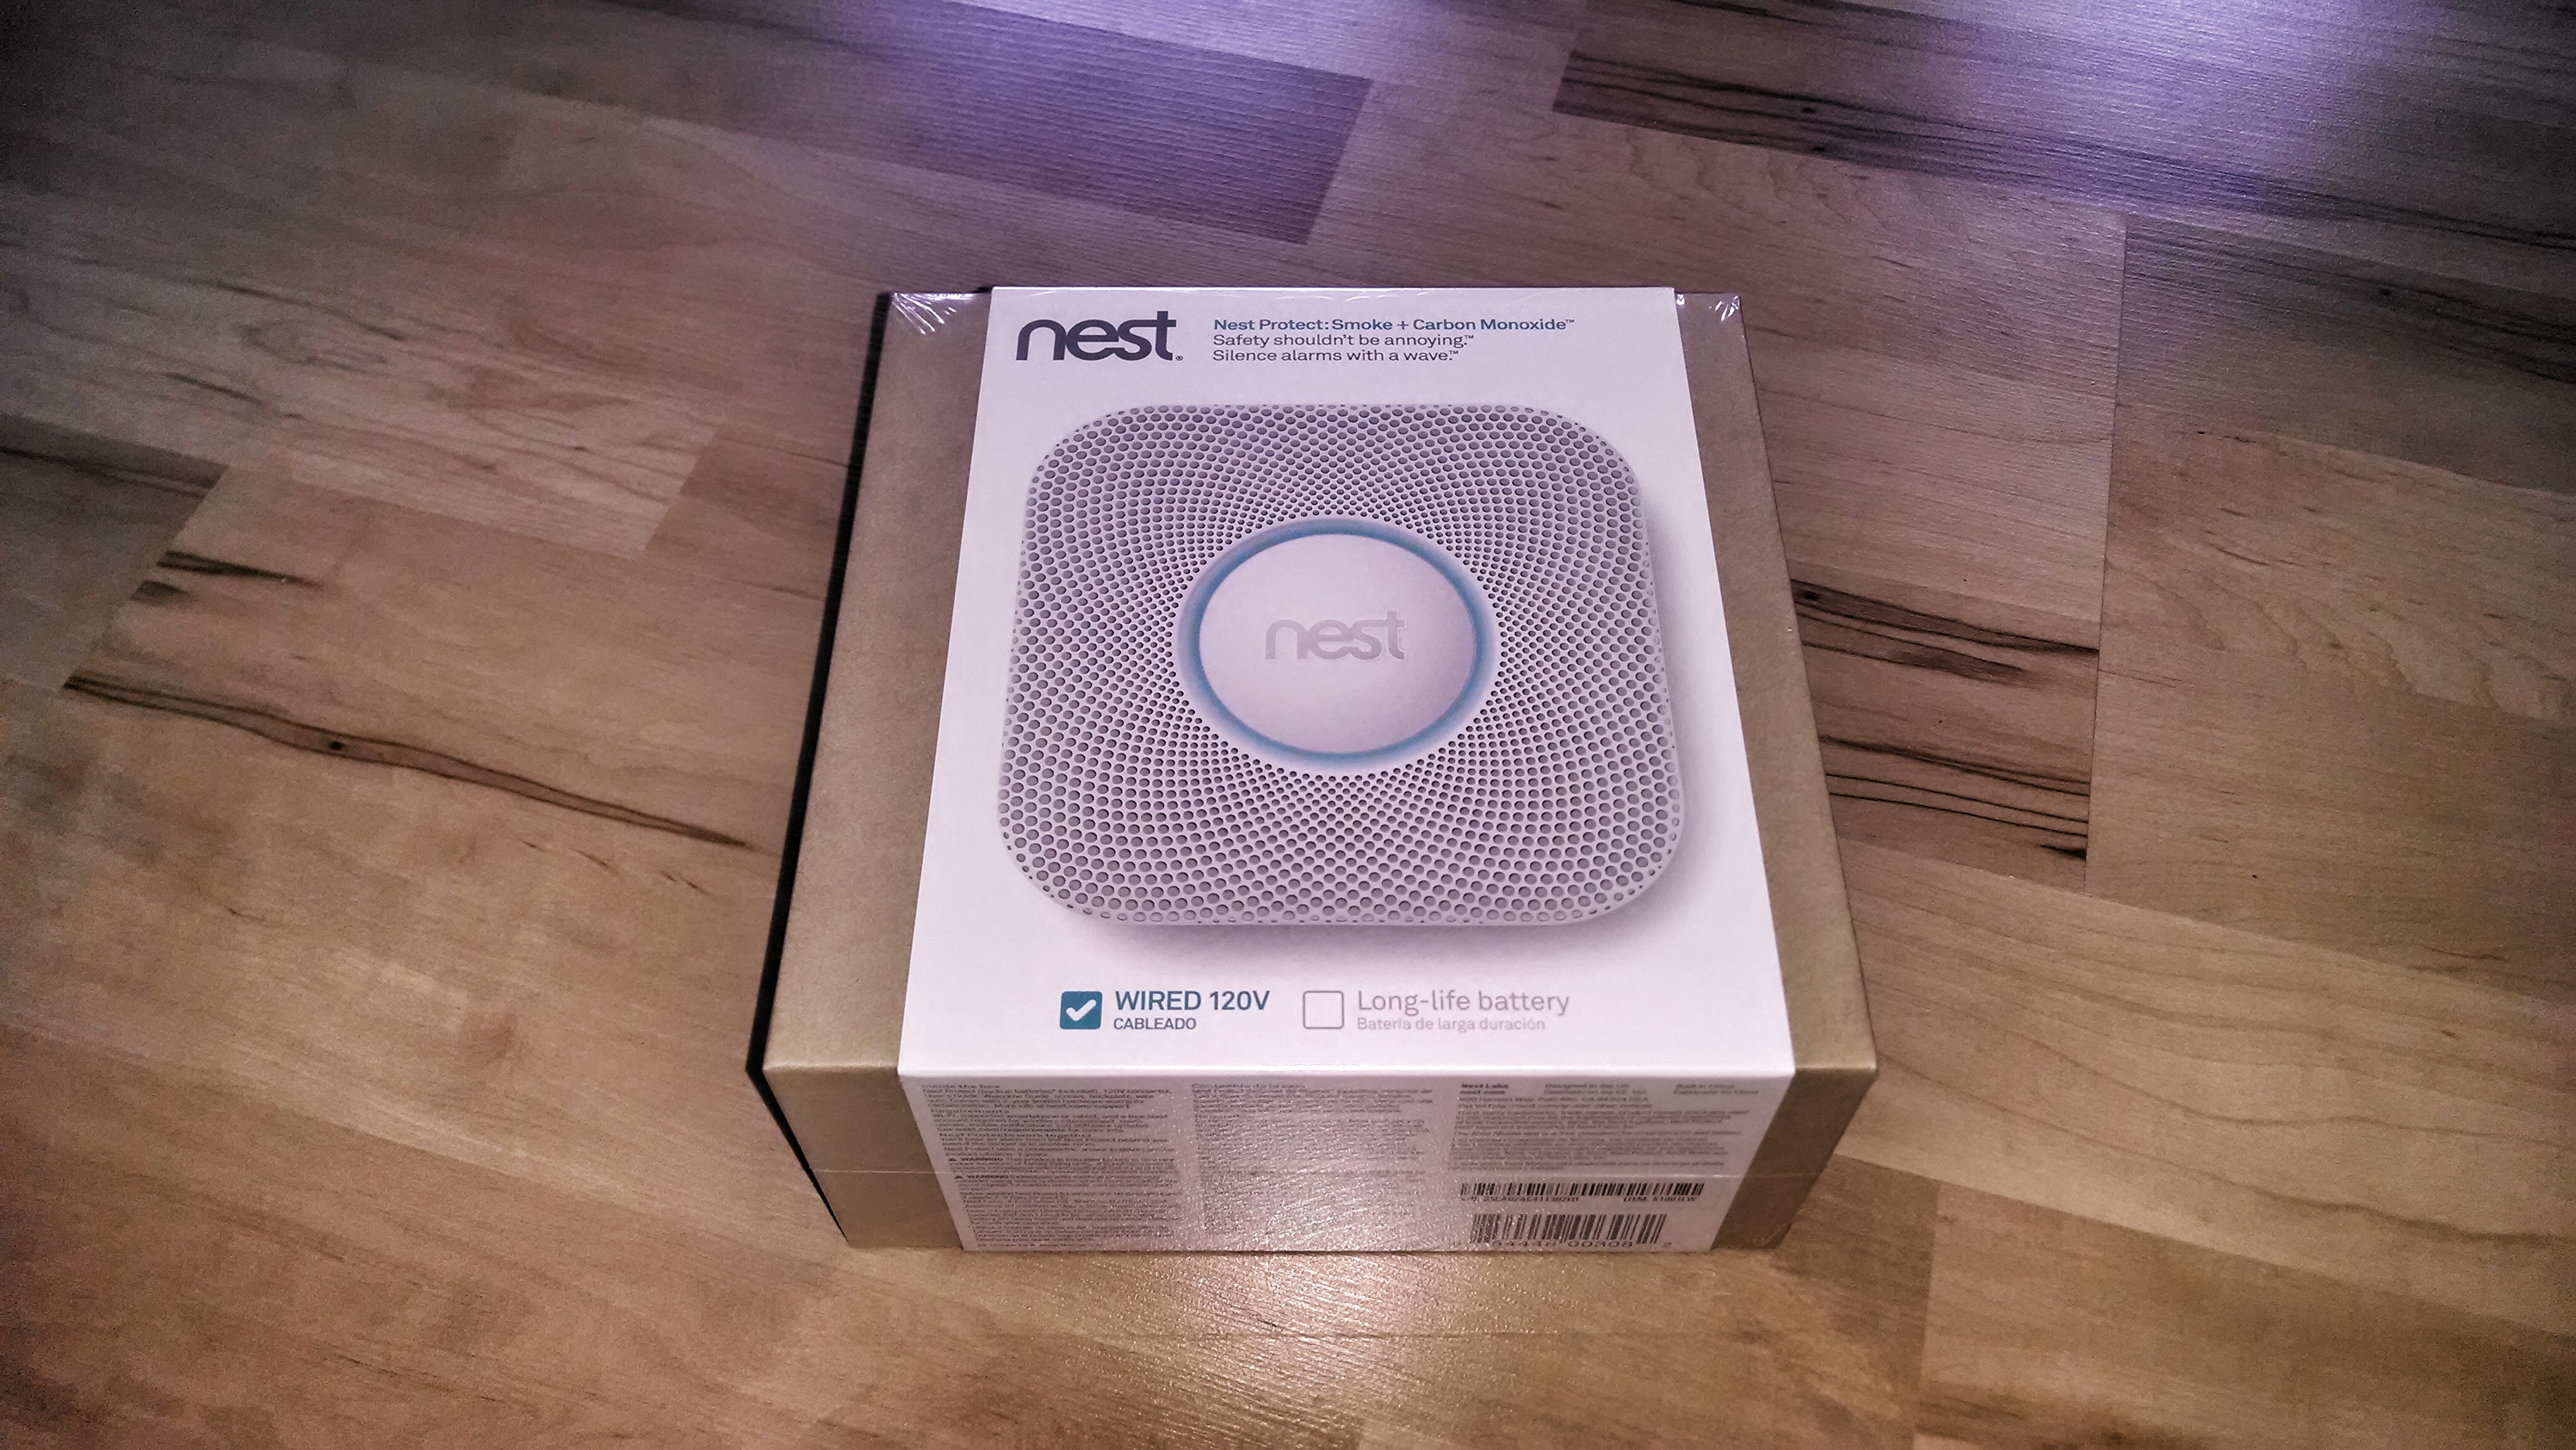
Just like with the Nest Thermostat there are some things you need to know about your existing system before you purchase your Nest Protect. Is your current system only battery powered or wired (120 volt) and battery? Next is a personal preference of color that matches your existing location. Black or white (note that the black version is only available at nest.com at this time)? In my home we have a wired linked existing system and am installing this Nest Protect on a white ceiling, so I choose the white one.
 |
 |
 |
 |
 |
 |
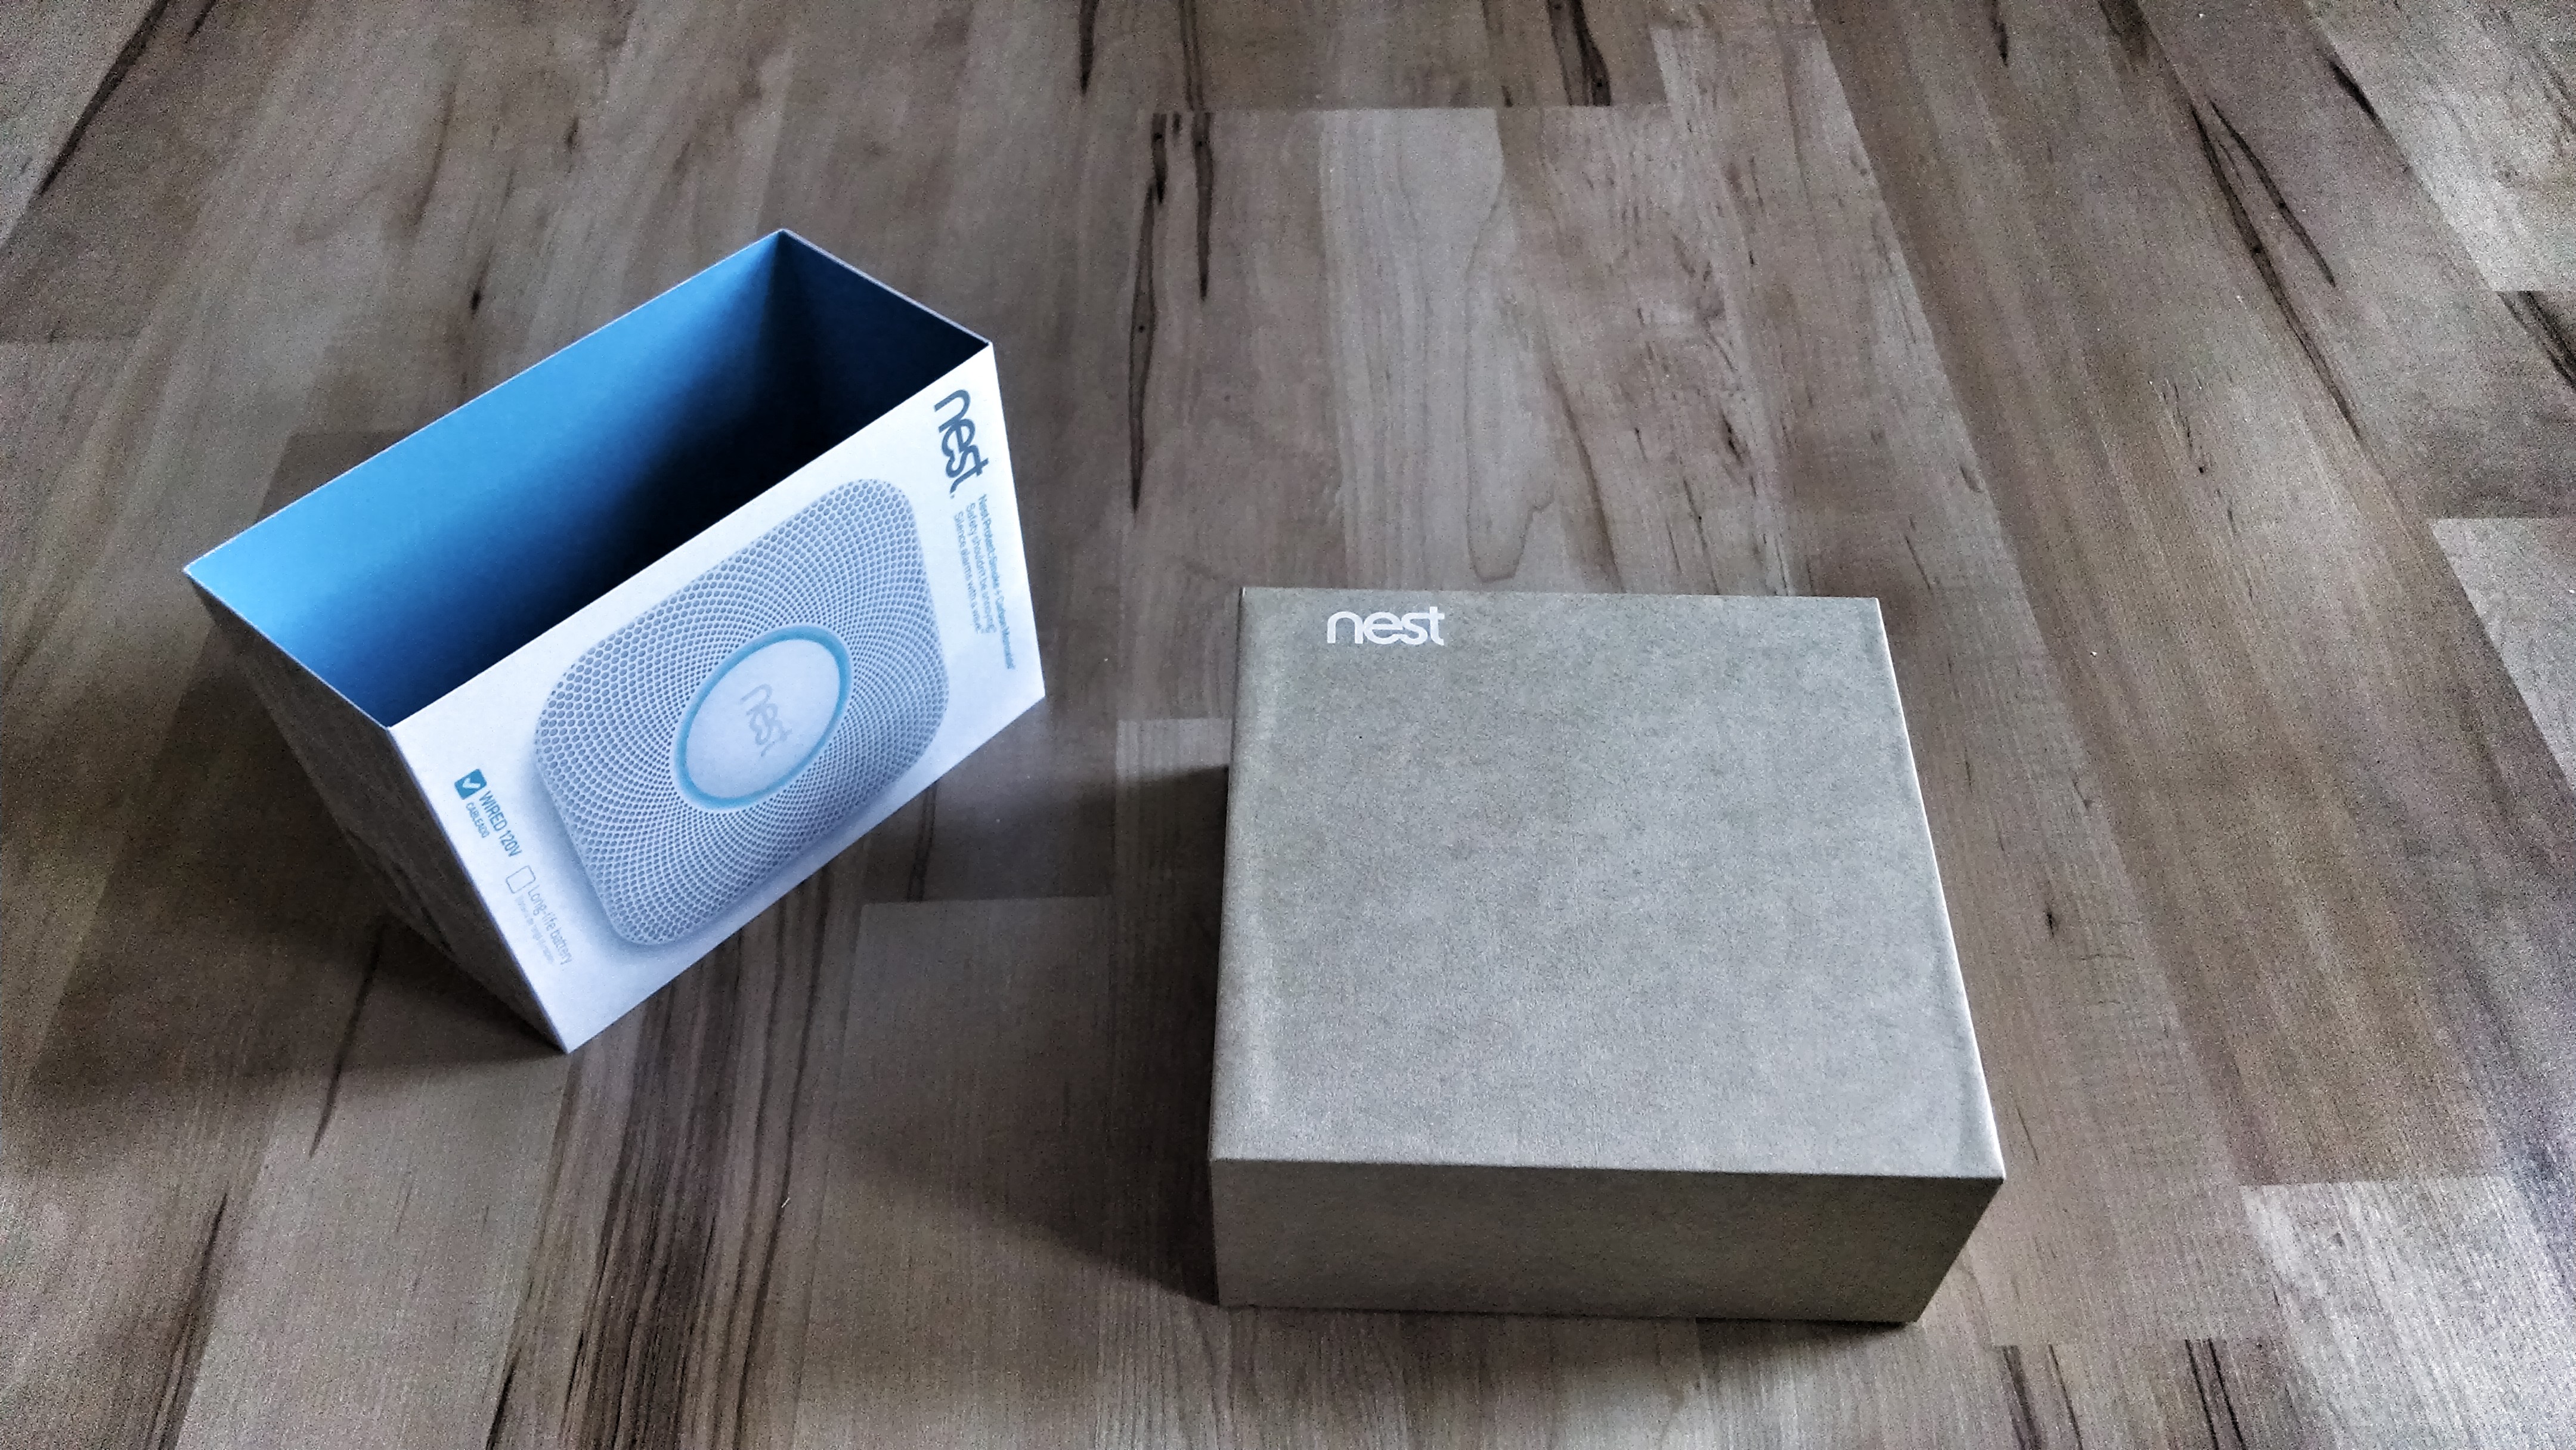
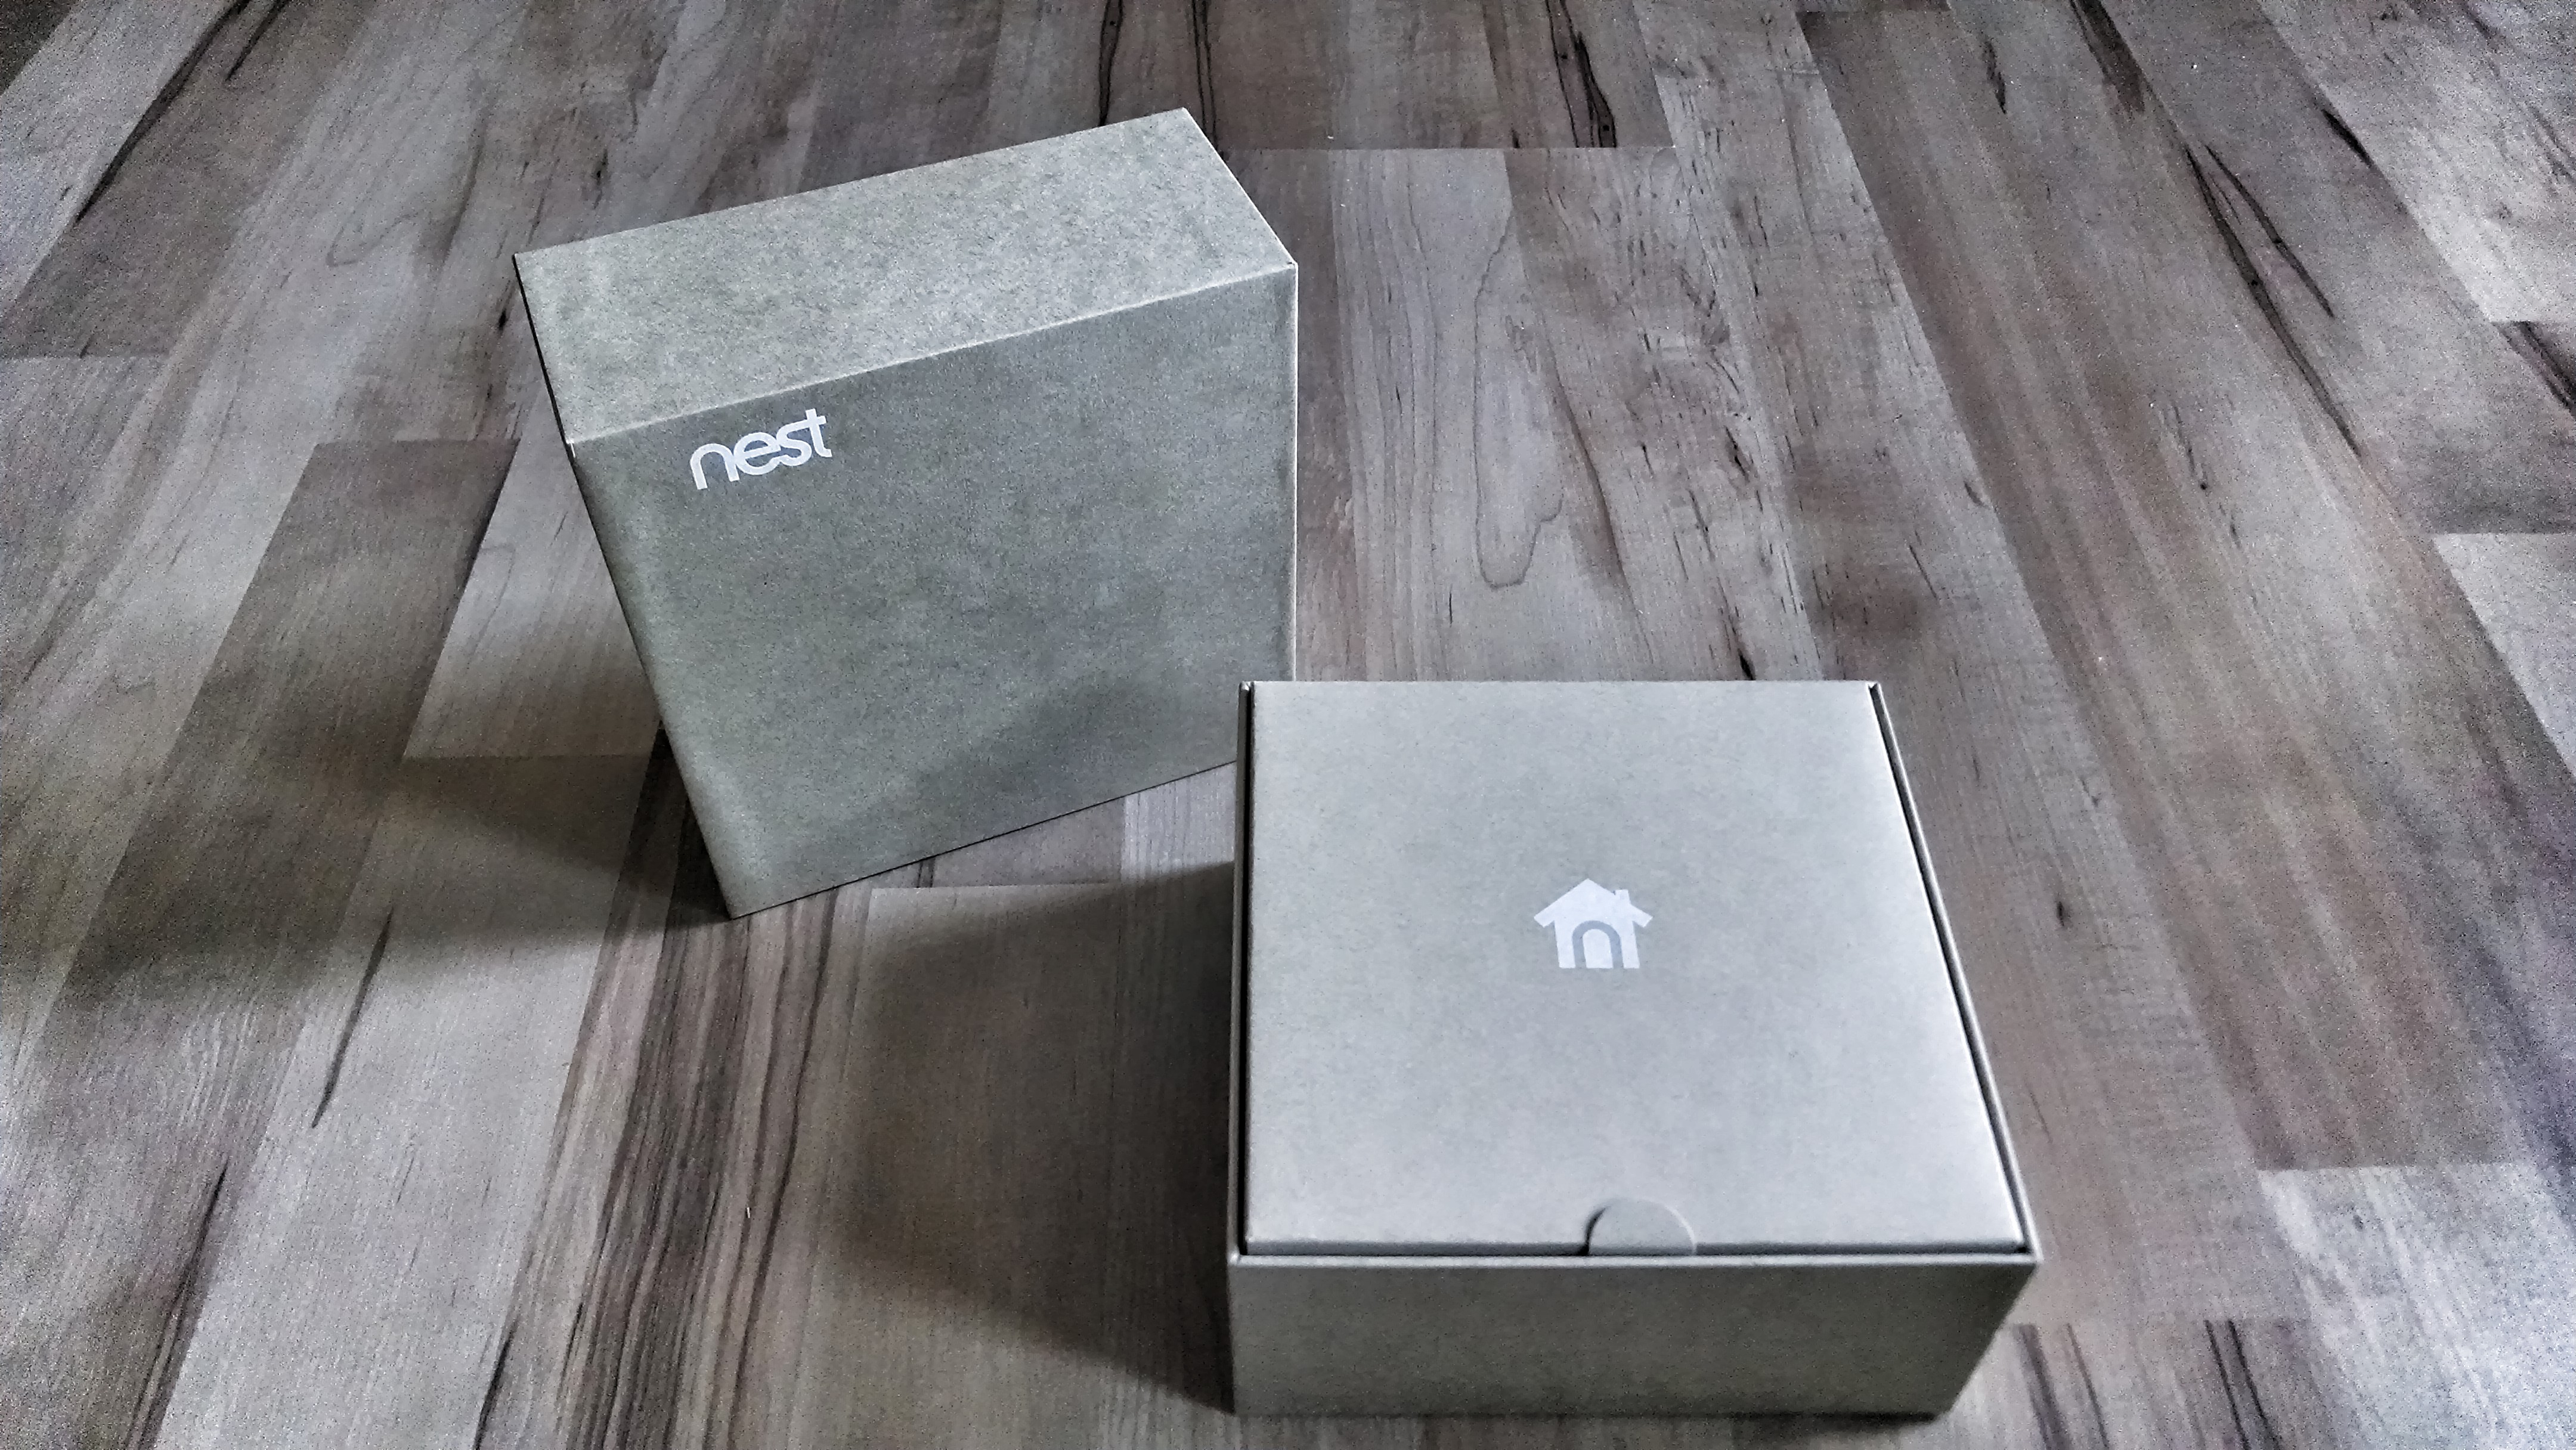
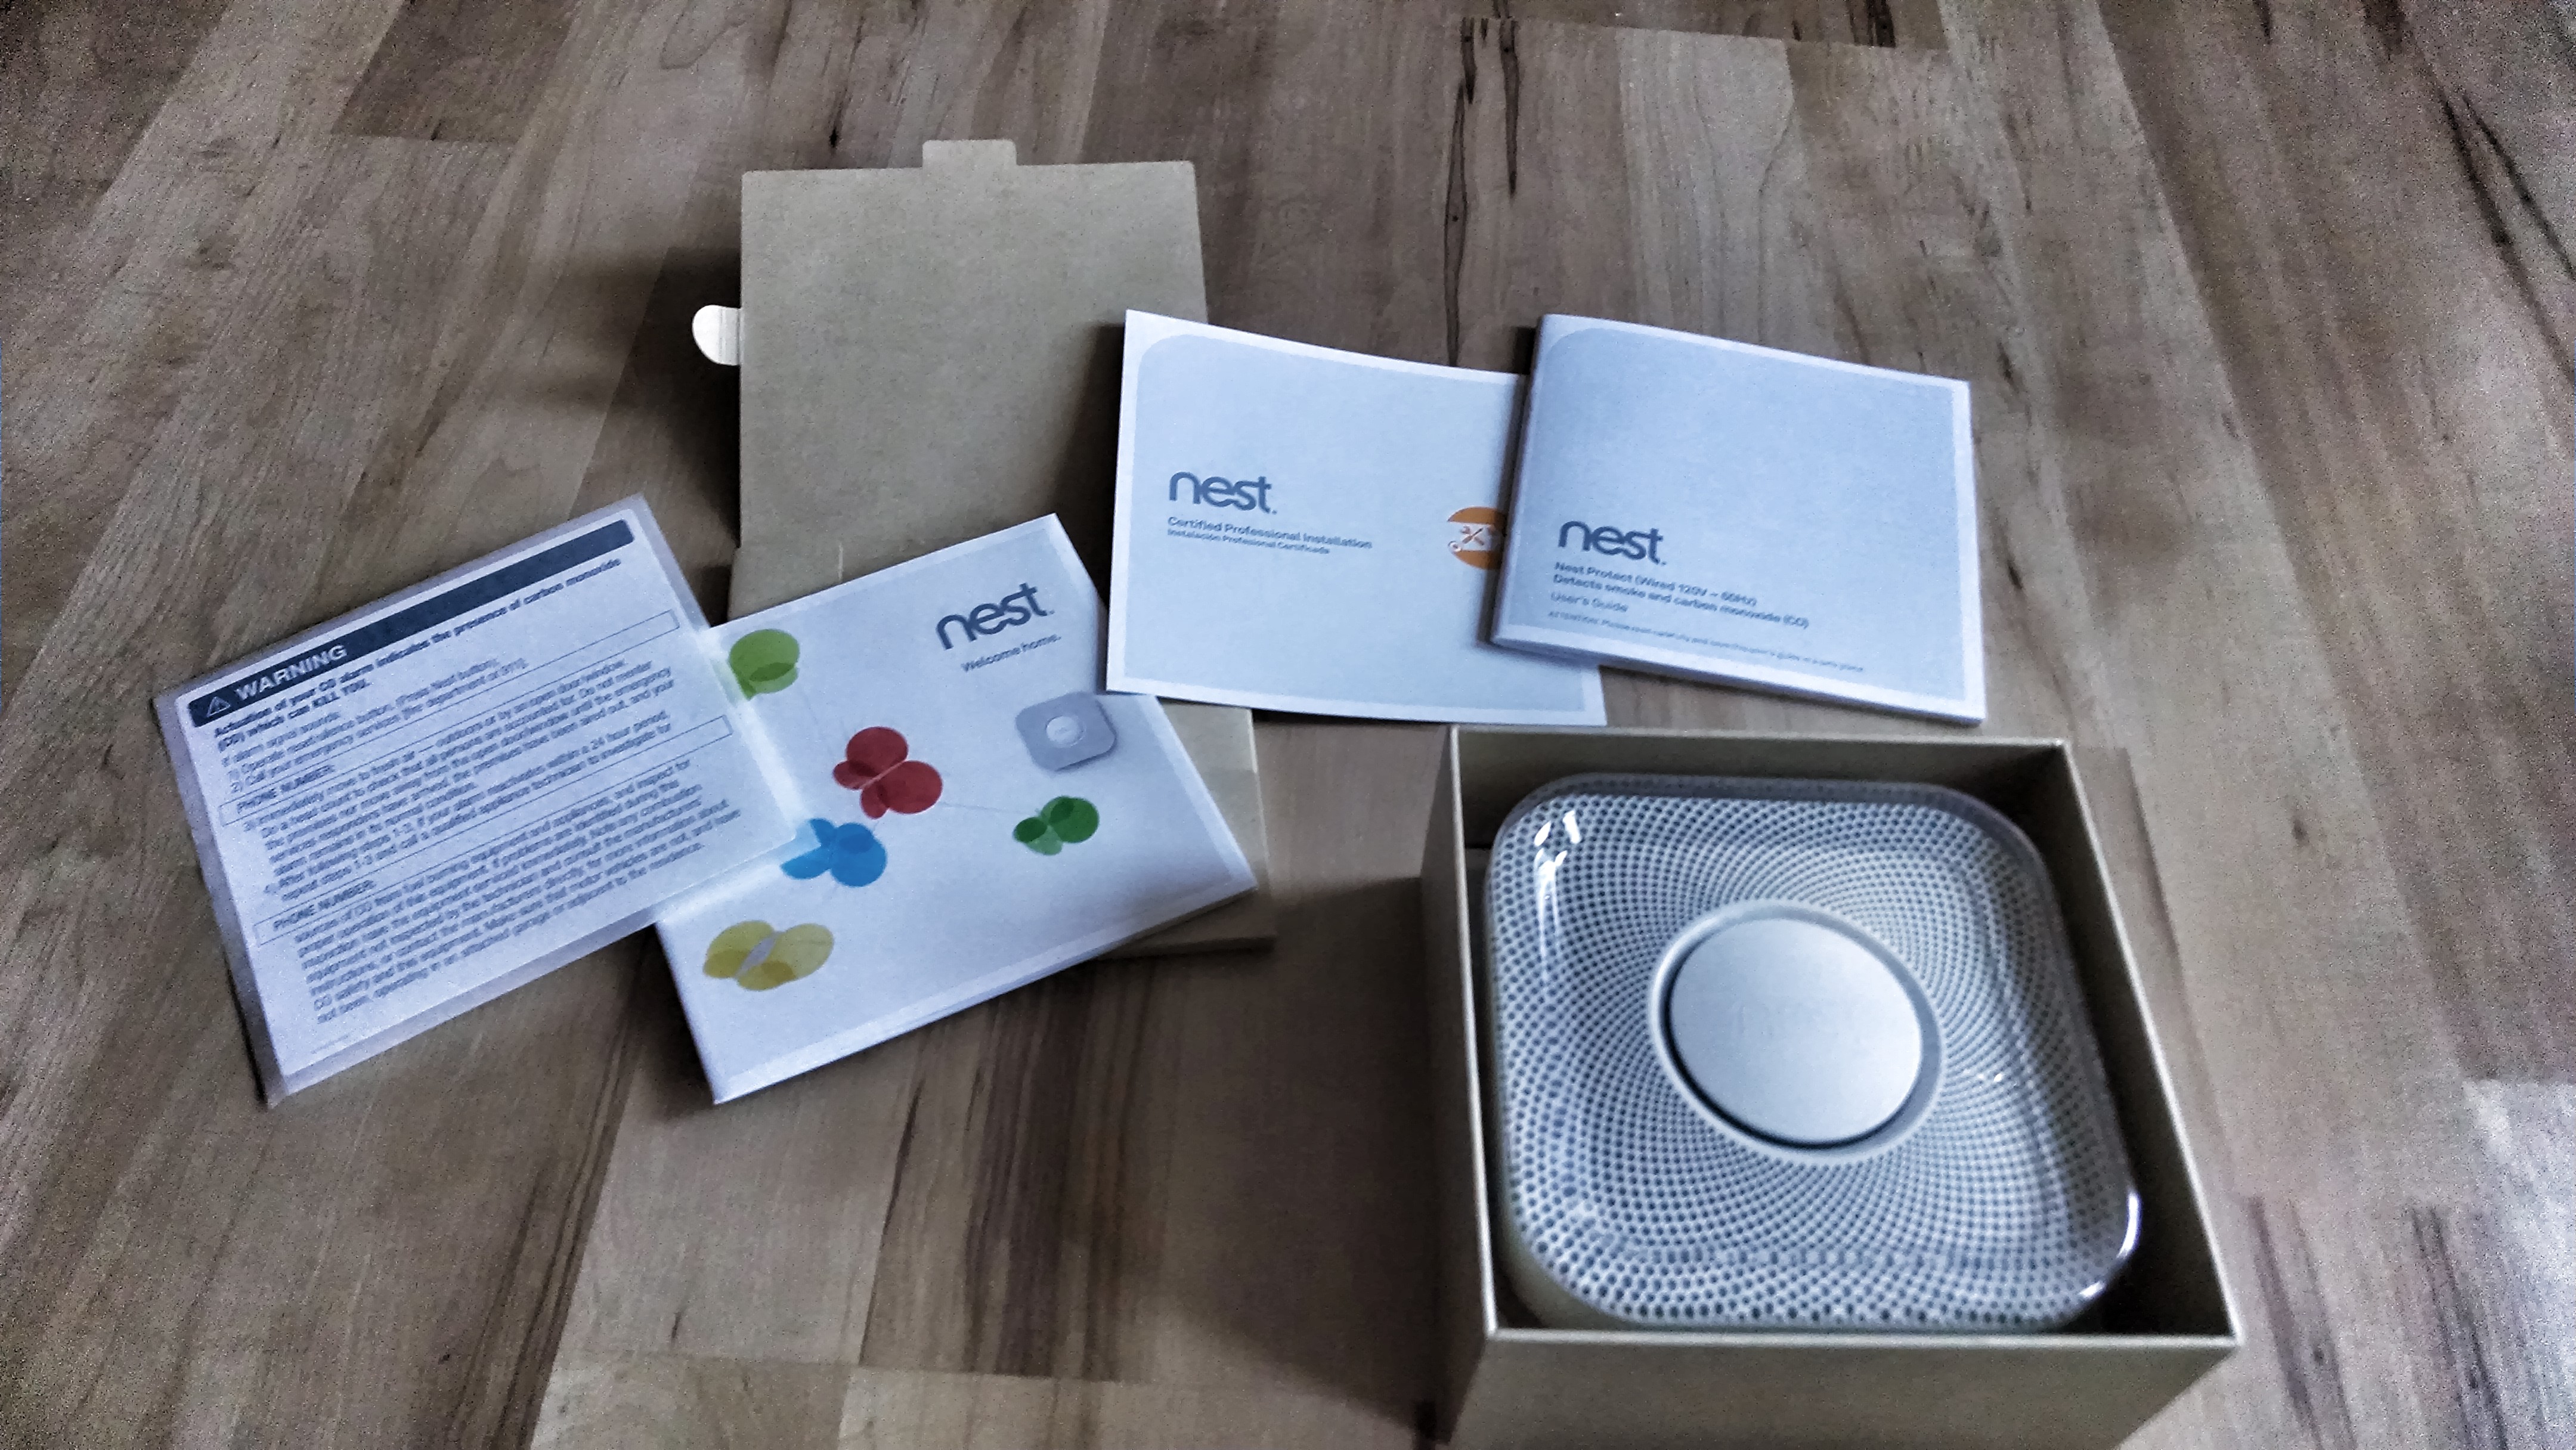
Nest has kept the packaging scheme similar across all of its products. The design starts on the outside of the box and continues to flow to the contents within. After removing the information band from the box and removing the top cover I was greeted with an information packet. The contents of the packet include: a user’s guide, welcome guide and 2 year warranty information.
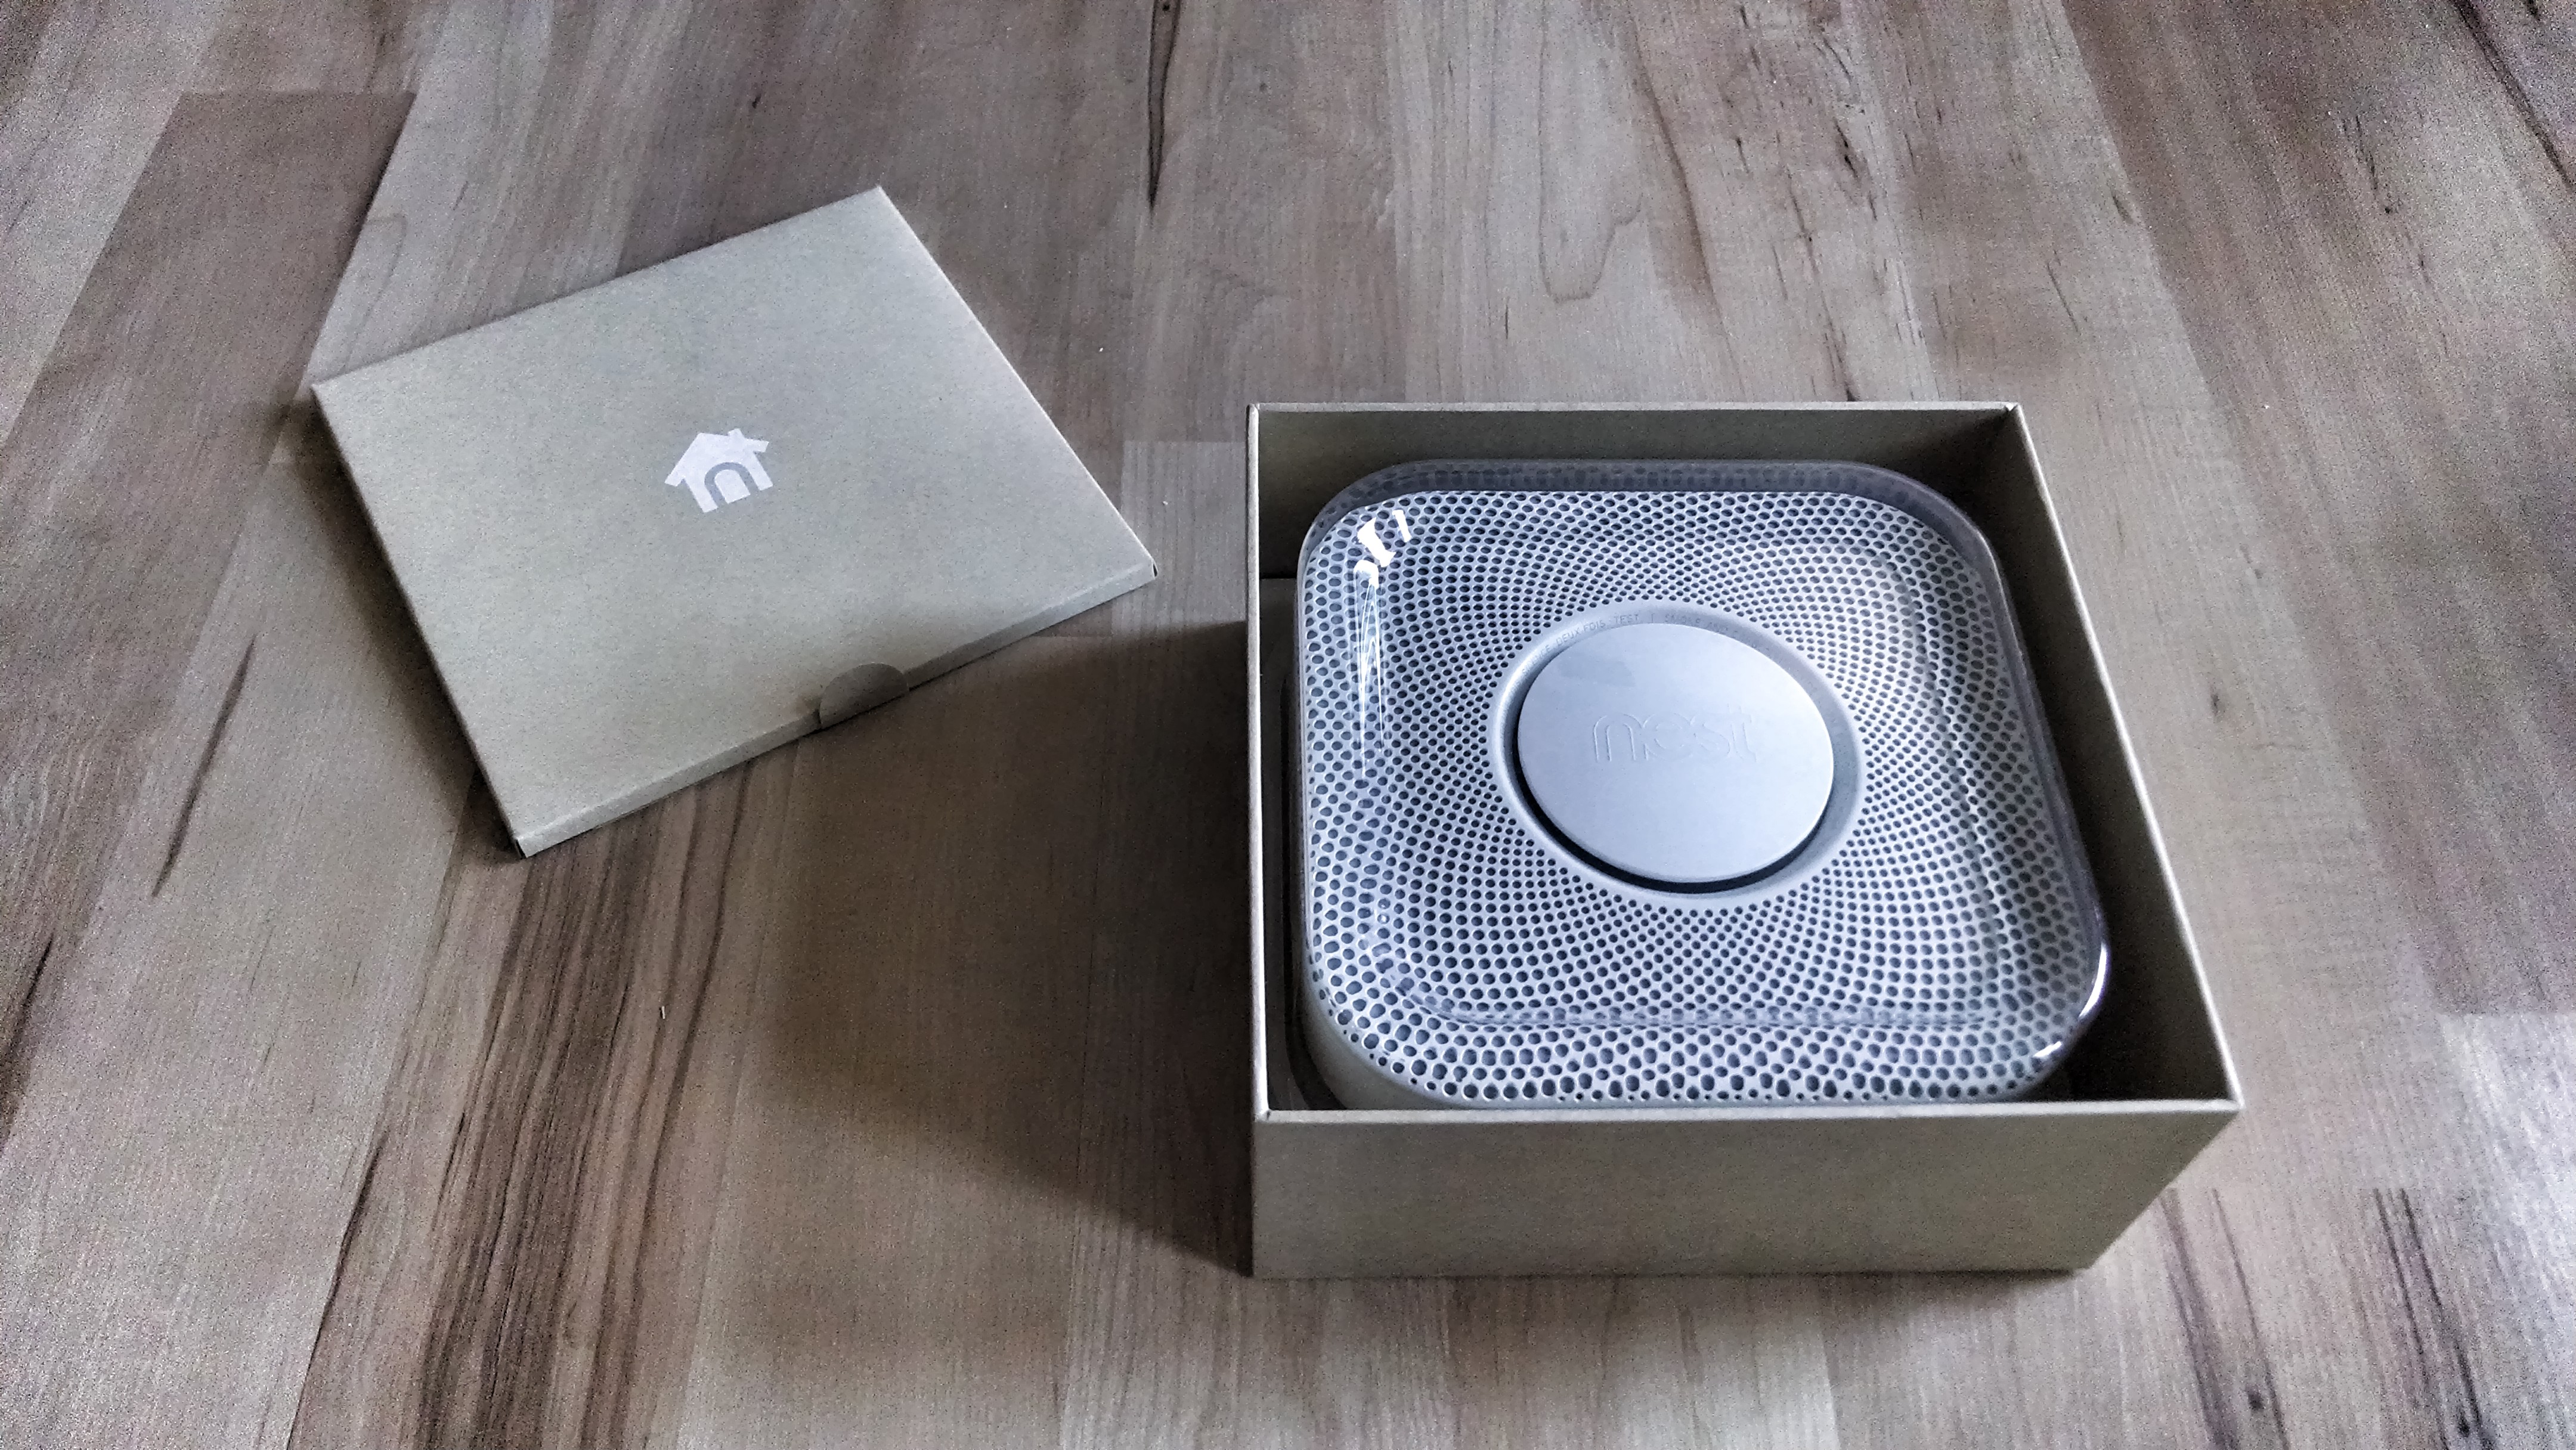
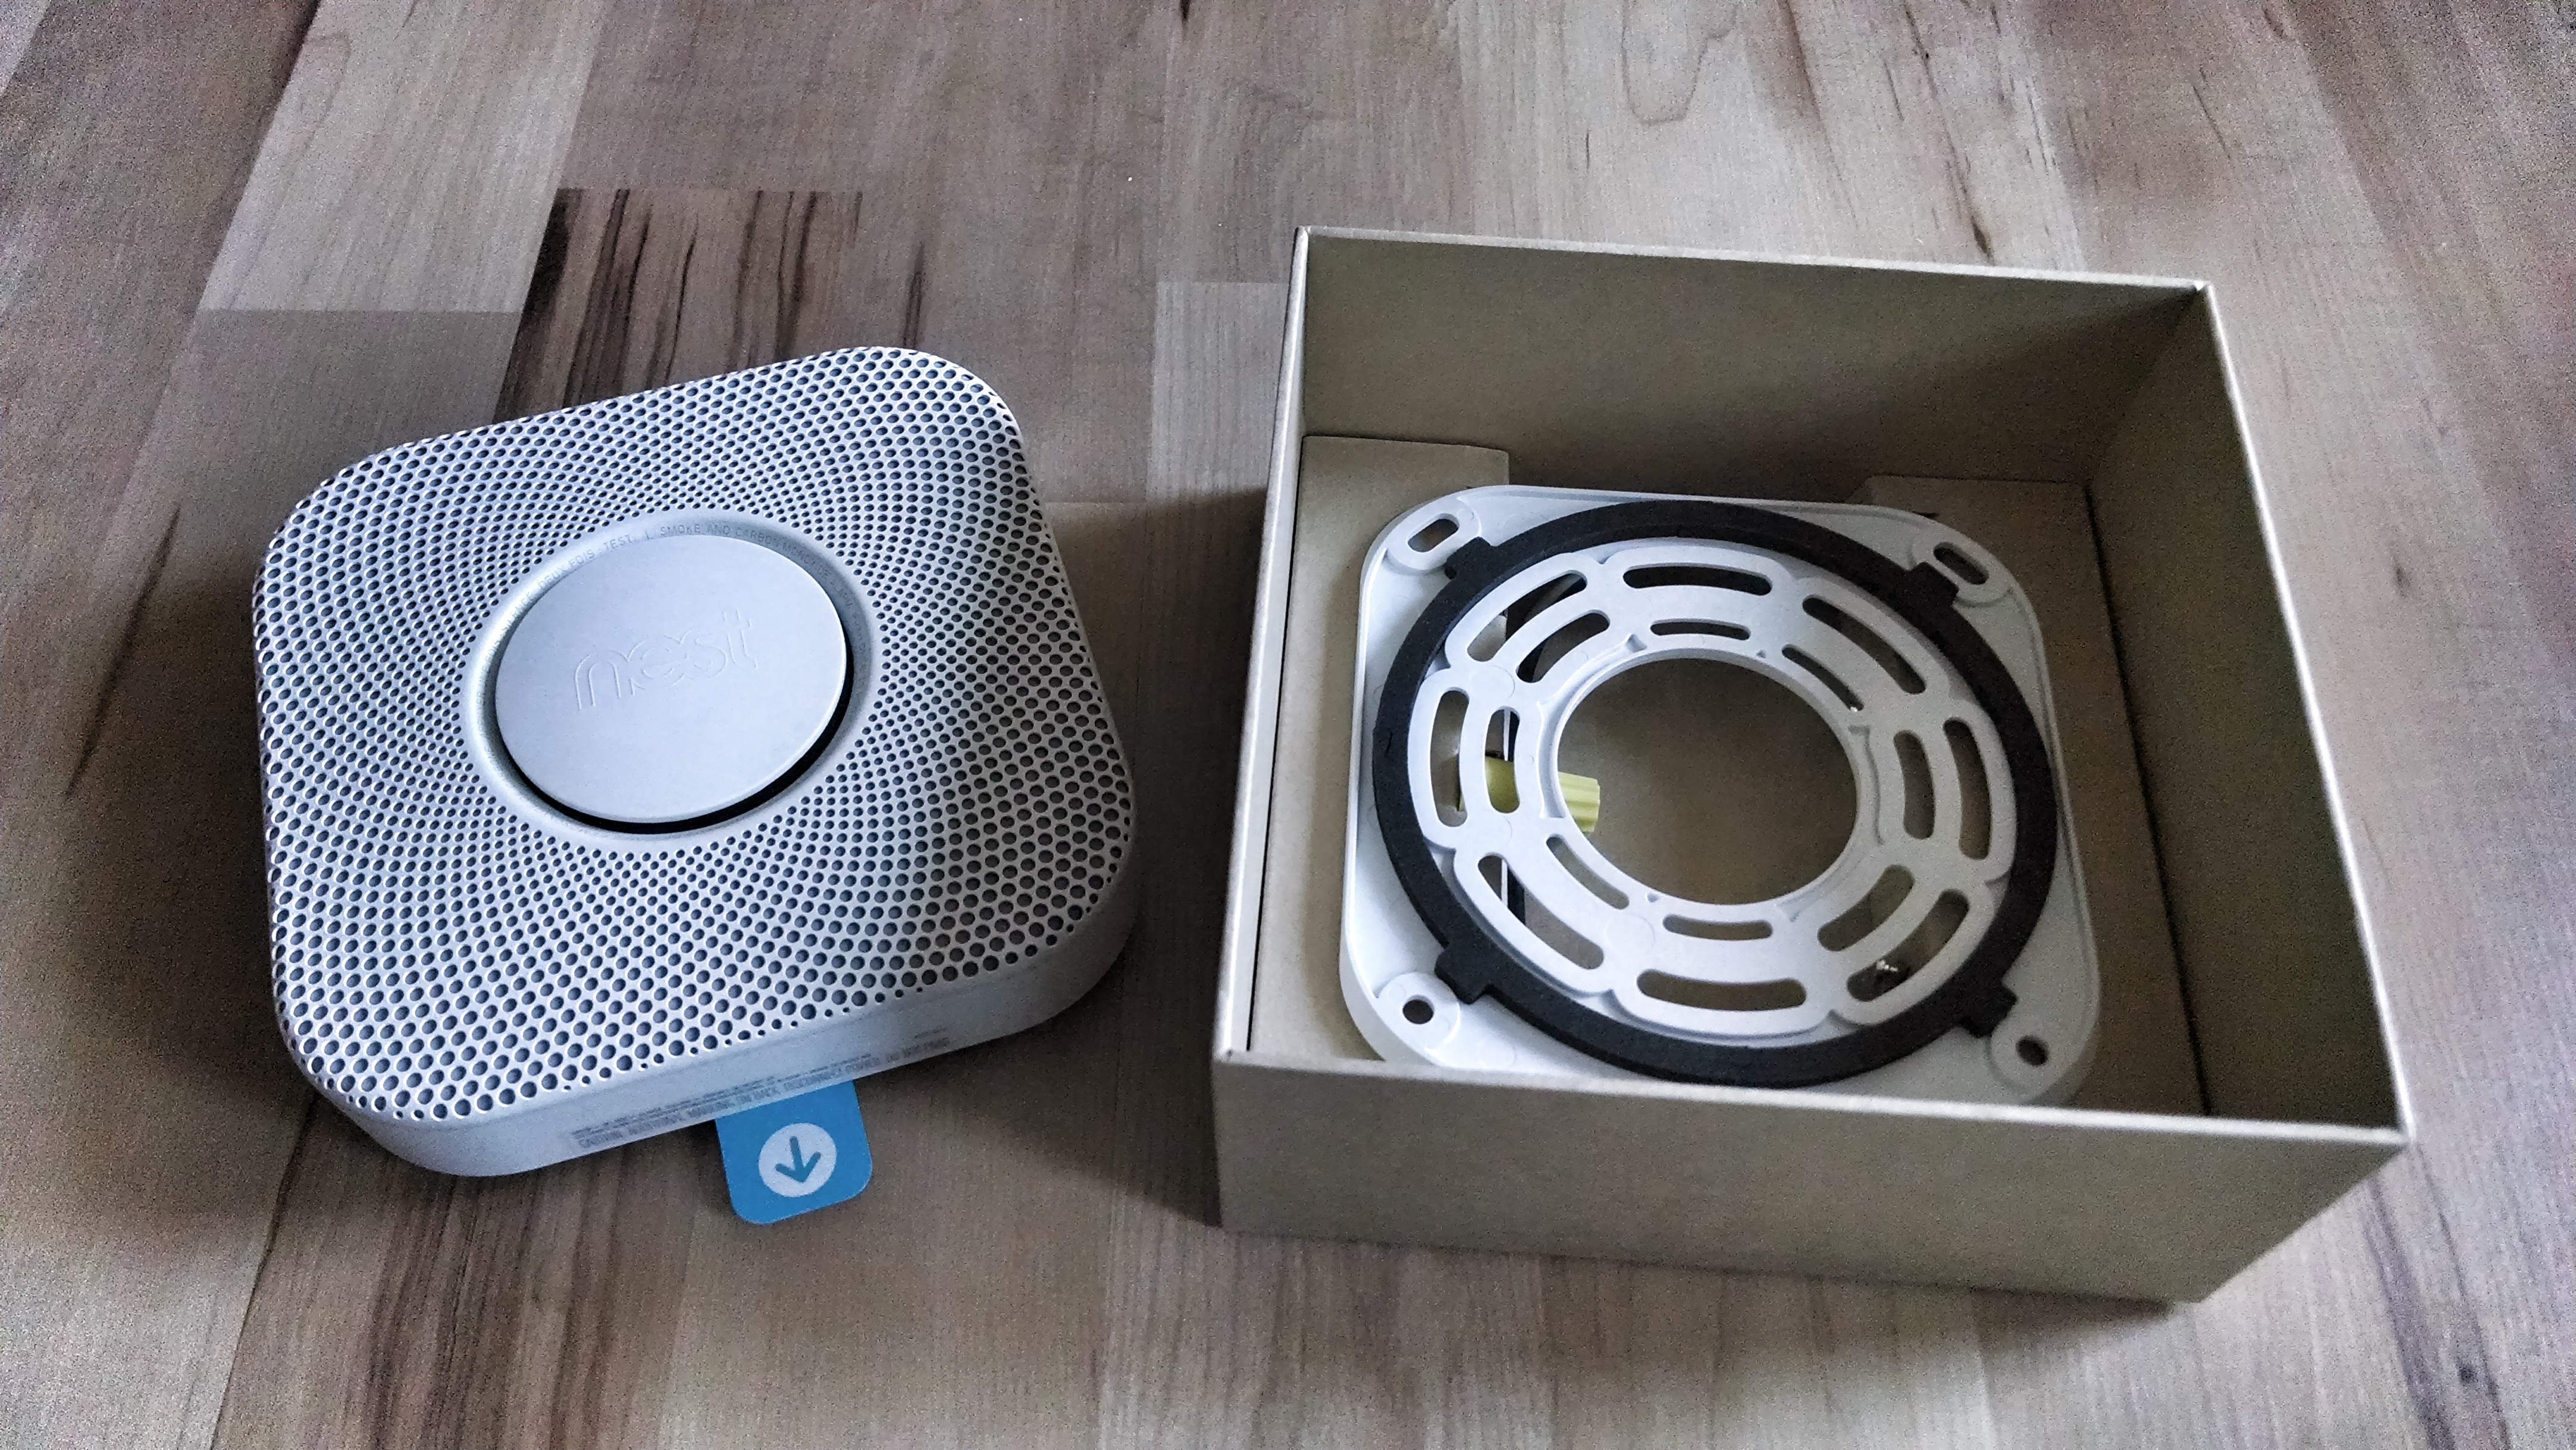
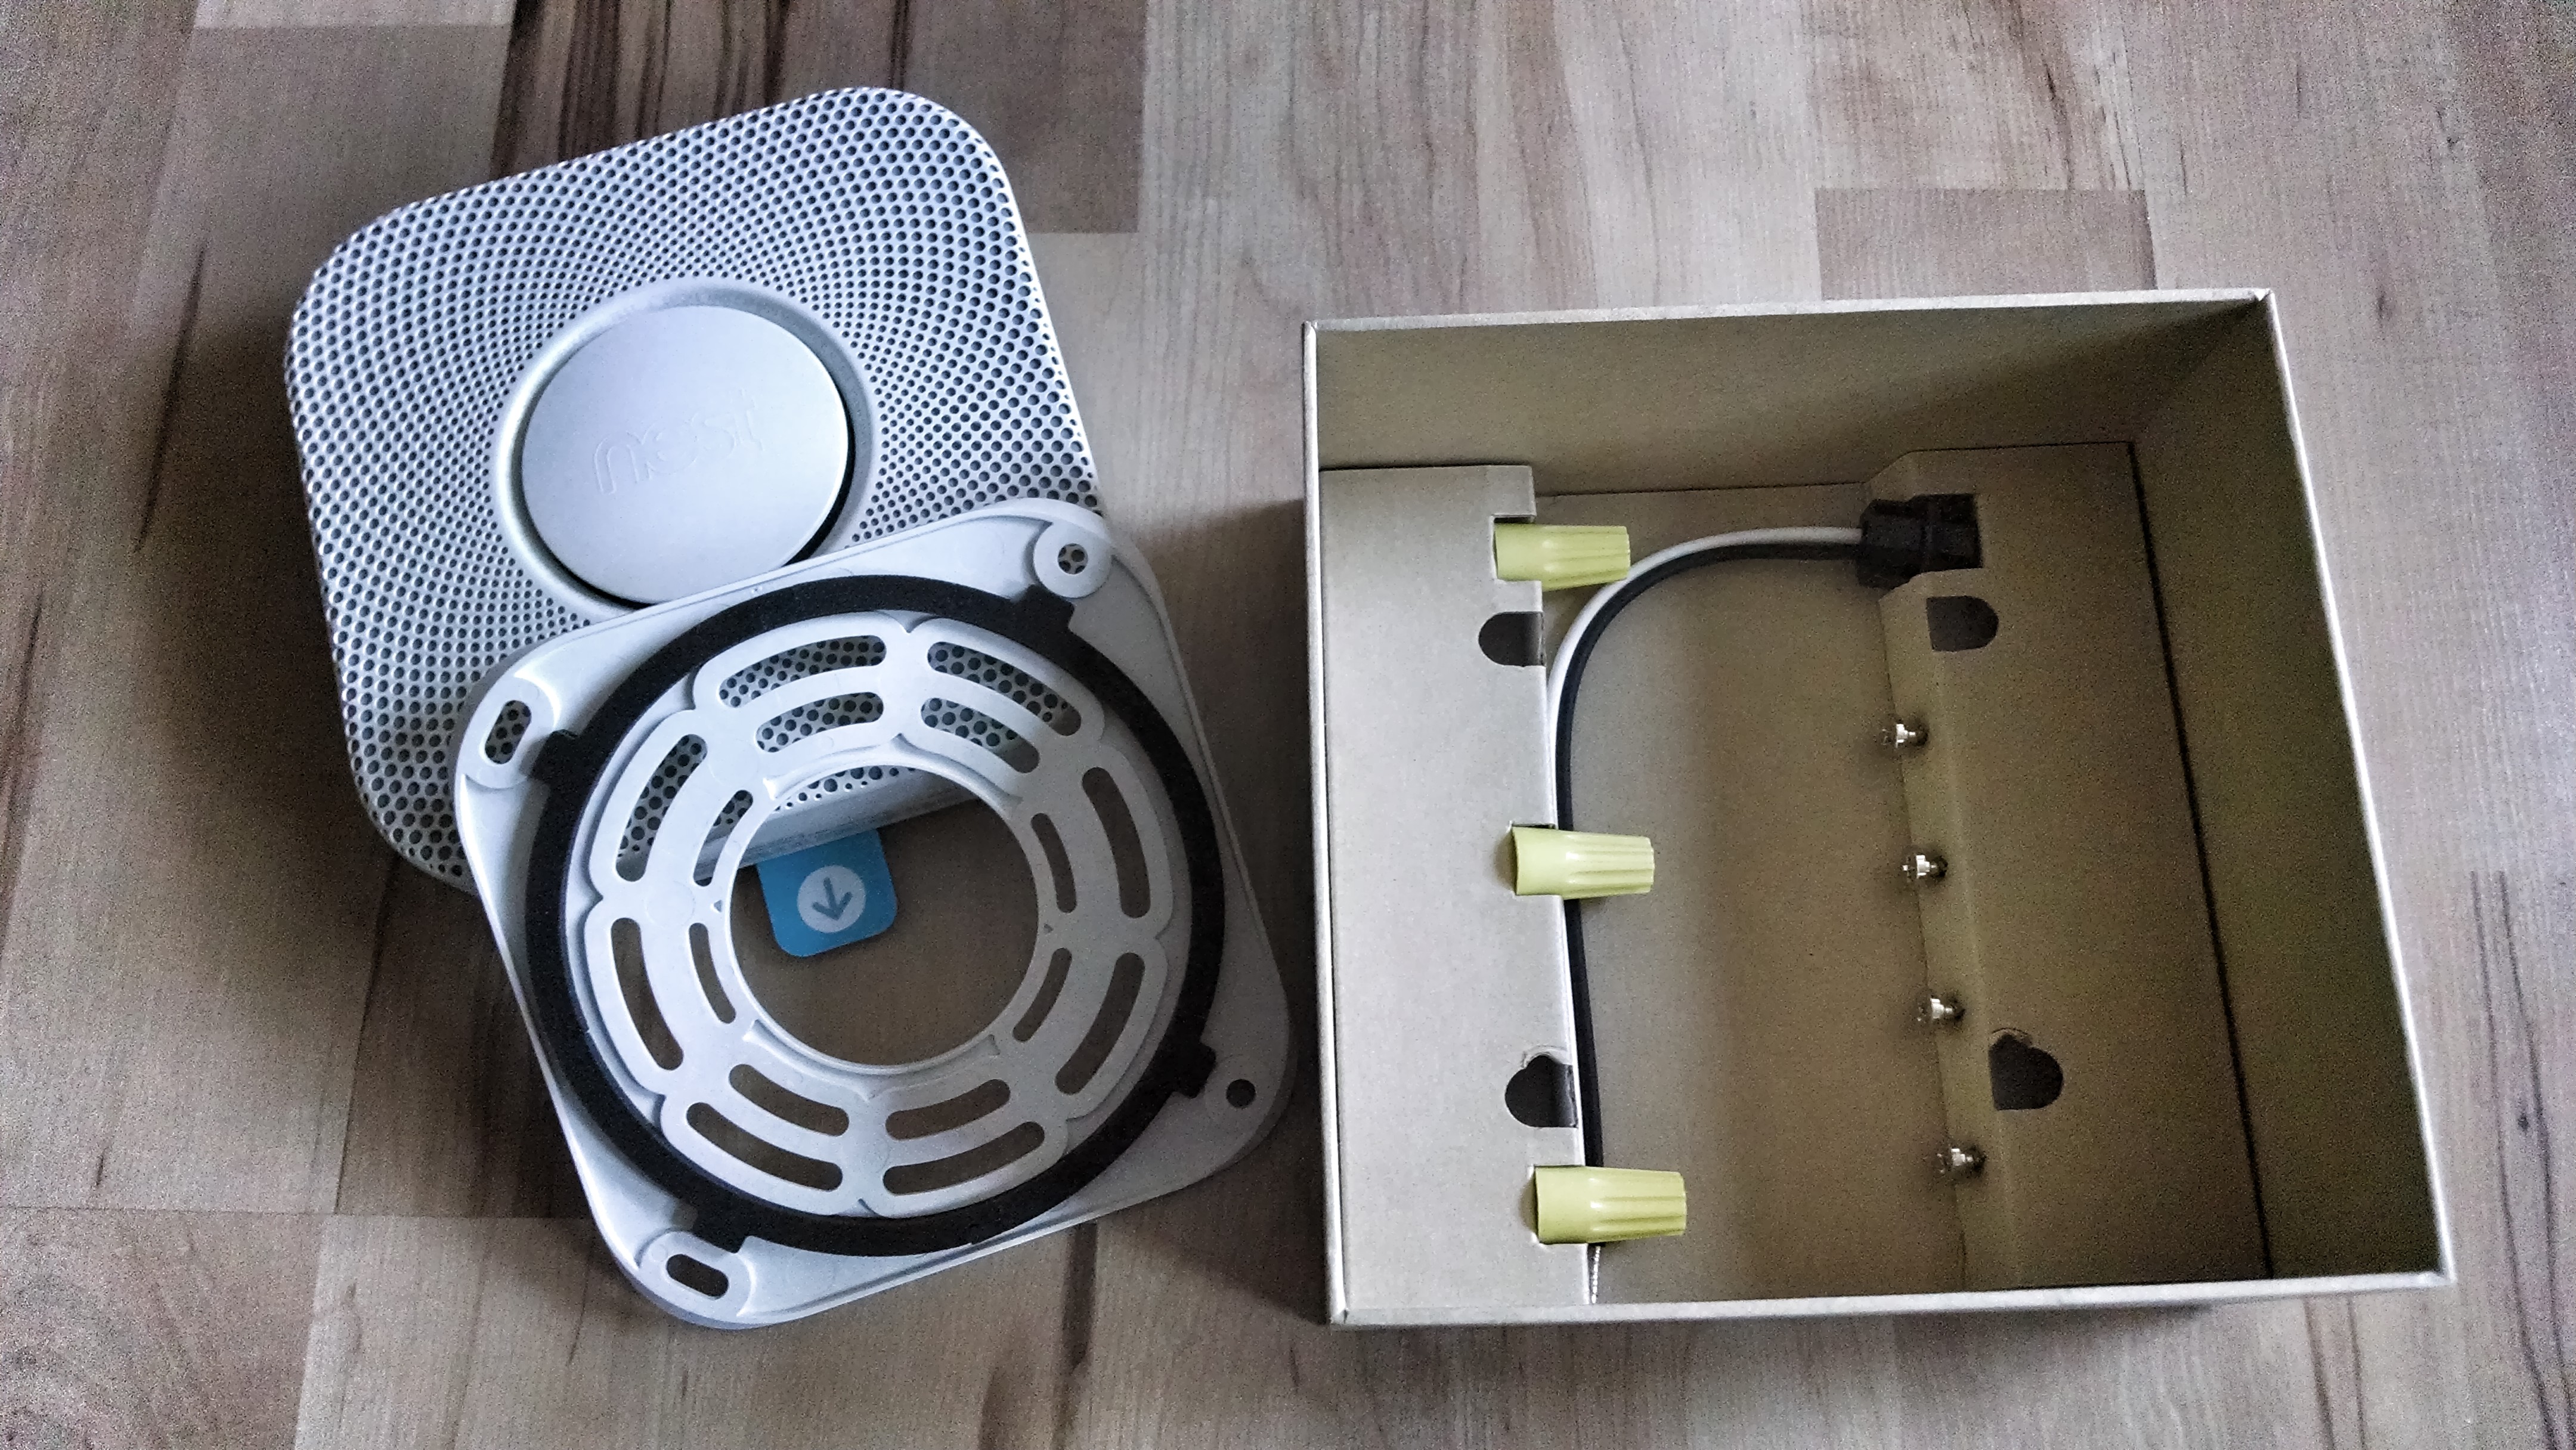
Next, I was presented with the Nest Protect covered by a hard plastic dome of protection. Removing the Nest Protect reveals the included mounting bracket. Below the mounting bracket is something different then most. Rather then putting the three wire nuts, four mounting screws and 120 volt wire adapter in a plastic bag. Nest has chosen to carefully place these components in a very clean and organized cardboard insert at the bottom of the box.
 The installation process is very simple and did not take long at all (about 10 minutes to install). It actually took me longer to figure out which breaker was controlling the smoke and carbon monoxide detectors then it did to install the Nest Protect. There is also a very helpful installation video on the Nest site if needed.
Here is the process I went through in my installation and yours will be close to the same if not easier if you have the battery only version in your home. I first removed my old smoke detector after shutting down the power to it. I then removed the wire nuts from the existing adapter and the mounting plate. I had a red, black and white wire to work with. The instruction guide says you do not need the red wire so I put one of the three wire nuts on the red wire to cap it. I then matched up the black to black wire and the white to the white wire and twisted them together with the provided wire nuts.
I then grabbed the Nest mounting plate and two of the provided screws and mounted the plate in place of the old one. Next, I prepared the Nest Protect for installation. There is a small blue tab with an arrow hanging out of one side of the detector. Pulling this tab wakes up the detector and then I was prompted to click the center button and open my Nest mobile application to get the detector added to my wireless network and to my account.
Once this part of the setup process was complete I then finished up the installation process by connecting the adapter for the 120 volt wire to the back of the detector and mounted the detector to the mounting plate. Nest is nice to setup and walks your through a testing phase during the setup process after mounting to ensure all systems are working and detection is ready to go. More on the setup process and functions to come in Part 2
Gordon Schmidt is a guest blogger and host for Home Tech at http://theAverageGuy.tv
Gordon’s Review of the Nest Thermostat:
http://theaverageguy.tv/2012/07/13/my-nest-thermostat/
Podcast About Nest:
http://theaverageguy.tv/2012/07/20/81-home-tech-podcast-nest-thermostat/


2 thoughts on “The Nest Protect – Smoke + CO Alarm: About, Unboxed and Installed”