Drobo Has a New Dashboard! Welcome Version 2.0 with a Drobo S and 5 Drives.
 I have been reviewing a Drobo in some form or fashion since December 2010. Some reviews over at the Home Server Show and some here at the Average Guy. In recent months, Drobo has released a new version of their dashboard (v2.0.2 for this review) for both their consumer and enterprise products. For a company that is taking steps in the right direction when it comes to back up hardware, this software upgrade replaces a fairly vanilla offering from the last several years. It’s a definite upgrade and one that users of a Drobo should test out quickly. I found no reasons not to upgrade. If you are a Drobo owner, the upgrade is free.
With the new Dashboard, you can: (from Drobo.com)
- View all your Drobos in one window
- Get capacity and status for each Drobo
- DroboCopy tasks run in the background
- Get email alerts about your Drobo
Here is a good overview of the Drobo Dashboard v2 from Mario Blandini.
This review was done on Windows 7 PC using a 5 bay Drobo S connected via USB 3.0
The Review
The v2 software can be found at the Drobo support site. http://drobo.com/support/updates.php The install is fairly standard and I selected all the defaults.
The Dashboard:
(Click on any of the images to enlarge to viewable size)
| Icons View | List View |
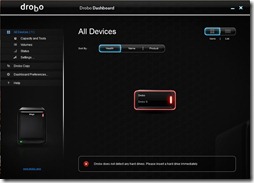 | 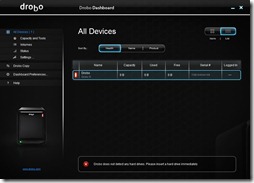 |
Both views give the ability to sort by Health, Name or Product. There is a graphical representation of the device in the lower left corner of the dashboard. Very handy to use if your Drobo is in another location and cannot be seen.
Since the Drobo is empty of drives, we are going to add 5 of them. 2 – 3TB, 2 - 1.5TB and 1 – 1TB drives. I am going to load all of them at once.
While the drives are being loaded by the Drobo, I get this warning message:
The Drobo itself is flashing the yellow and green lights. This process is no different in previous versions of the dashboard, just a new way of alerting the user.
Because the drives are not completely acquired by the unit, this alert occurs as well:
It took the unit about 3 minutes to completely add all the drives. Now they need to be formatted.
| Icons View | List View |
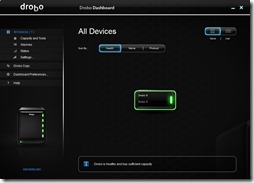 | 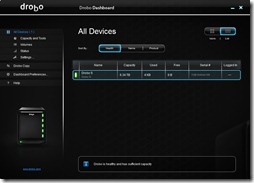 |
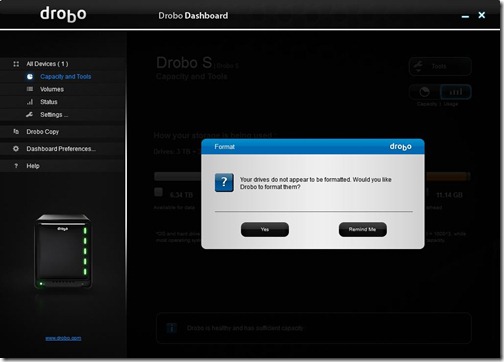
Selecting the first option, Capacity and Tools, I am prompted to format the drives. Selecting Yes.
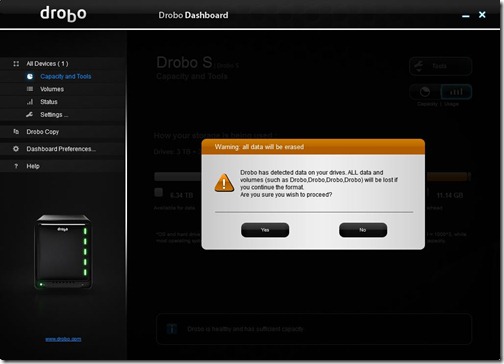
A final warning before the format.
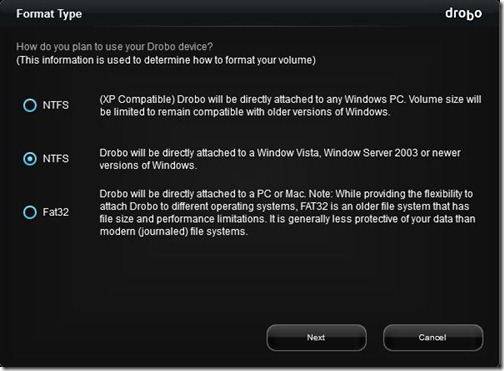
Like in the previous version of the dashboard, there three different Format Types listed. For the purposes of this review, I am choosing the 2nd or NTFS option.
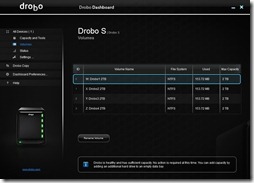
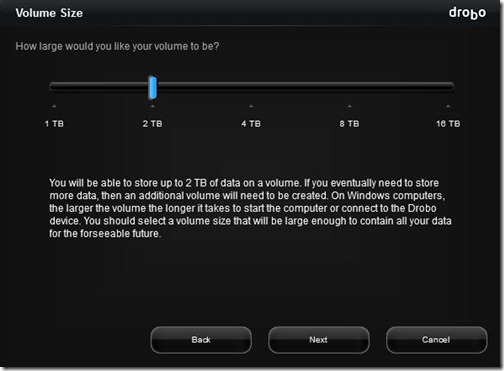
In further reviews, I am going use the Drobo to test the new Windows Home Server 2011 with Oracle’s Virtual Box software. For that purpose, I need 2TB partitions. So for this review, I am choosing to create multiple 2TB volumes. It would be just as easy to create a 4, 8 or 16TB volume right here with the slider.
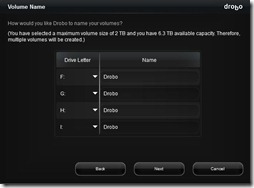
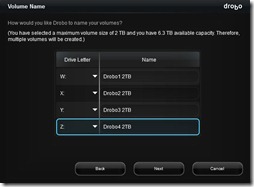
One of the handy features about the Drobo is that I can very easily set up the volumes once I chose their size. I am going to change both the drive letters of the volumes as well as their names. This will help in future reviews know which drive is which.
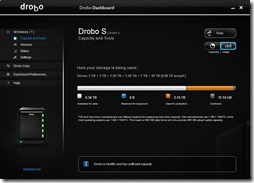
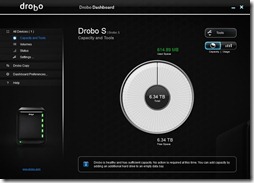
Its important to remember that while I might have 4 – 2TB volumes, I really only have 6.3TB of capacity total. If I loaded more than 6.3TB of data to these drives, the Drobo would require that I add larger drives to the pool.
| Before | After |
 |  |
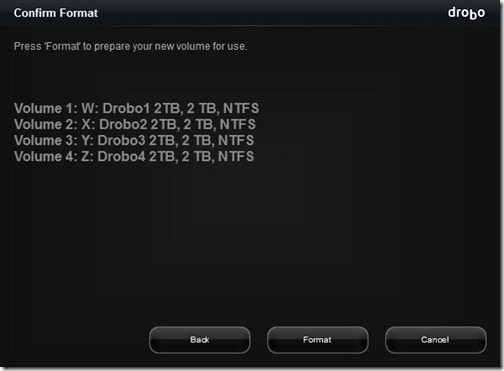
And a confirmation. Selected Format
 |
 | 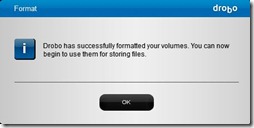 |
The formatted look from the Dashboard.
| Usage Option | Capacity Option |
 |  |
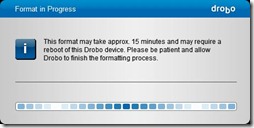
In order to complete the set up, the Drobo needed to be rebooted. This was accomplished in about 2 minutes time without rebooting the PC.
| Volumes Tab | Status Tab |
 | 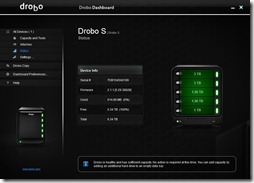 |
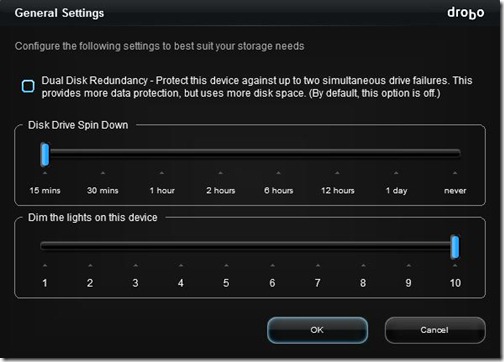
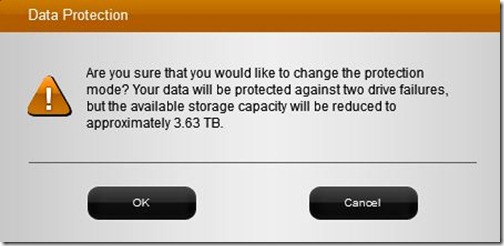
Out of the box, the Drobo uses Beyond RAID to protect any data stored on the device. By default on the Drobo S, one drive can fail without the loss of data. In the Setting – General Tab, there is an option increase the number of drives that can fail at once to two drives. While it adds a greater amount of protection, it takes additional space. Each user needs to evaluate their risk tolerance. Here is what it looks like if it’s turned on with this configuration.
There are also two other options for power savings. The first one determines how quickly the disk spin down when they are not in use. The default is 15 minutes. The second is brightness of the lights. 1 is nearly off and 10 is bright. 10 is default.
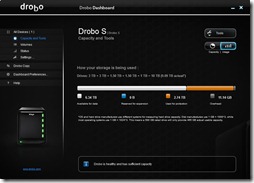
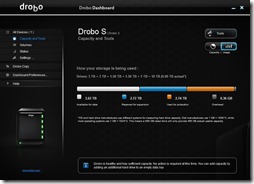
By selecting the Dual Disk Redundancy, the drive capacity is almost cut in half with this configuration.
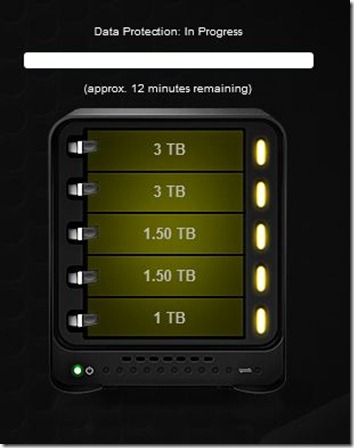
With this configuration, it took the Drobo about 12 minutes to convert the disks.
| Before | After |
 |  |
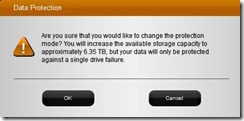
Since I can risk having only one drive fail at a time, I am going to set the protection mode back to the default setting.
This process took about 5 seconds to complete.
So what is next?
In the next set of reviews, we will look at The Tools available from within the Dashboard, Drobo Copy, the Dashboard Preferences and the Help available from the Drobo website. I will also take a look at how it can be used with different applications including Windows Home Server 2011 and Oracle’s Virtual Box.
Jim Collison is a blogger and podcaster for HomeServerShow.com and TheAverageGuy.tv.
Full Disclosure – Drobo provided an evaluation unit with drives for this review.






How well does the drobo do with streaming video?
I have never had issues with it. I stream movies from the Drobo FS thru Media Center. Always a good picture