9 Tips To Improve Your Astrophotography Images
You don’t have to be a professional photographer to be able to take stunning night-time images. All you need is a digital camera and a tripod and you have all the equipment you require to take astrophotography images.
If you’re just getting started then keep reading below, as I’ve got some great tips to help you get started on your night time photography journey.
What is Astrophotography?
There are many types of photography styles, from wildlife photography, street photography to portrait photography, each requiring a different type of equipment and skills.
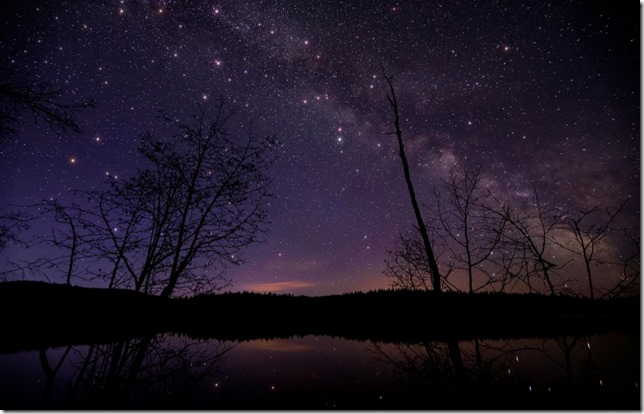
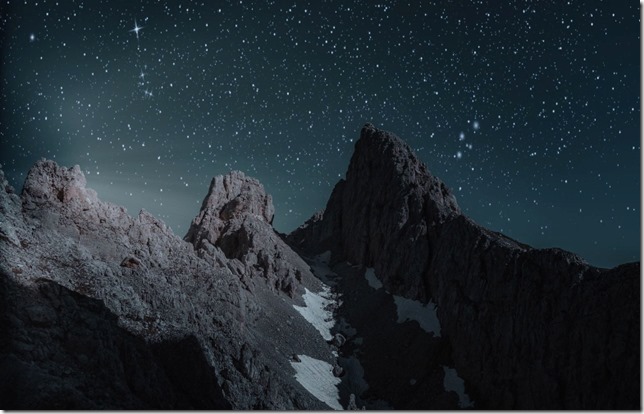
Astrophotography is all about capturing the night sky. Objects like stars, planets, galaxies and anything else you can (or can’t see) with the naked eye in the sky.
Looking for additional reading? Our friends over at Pixpa have written A Beginners Guide to Astrophotography.
If you’ve gone through this and are still looking for even more info, NightSkyPix has written a full beginners guide to astrophotography and night sky images.
1. Pick Your Equipment
With astrophotography, you can go as complicated or as simple as you like, for the purpose of keeping this article as simple and easy to follow along as possible, we’ll discuss the quick and easy way.
2. Camera
This is the most important piece of equipment, a good choice to get started is a DSLR camera.
Once you get used to what they can do they are easy to use and quite versatile.
3. Tripod
Capturing any sort of night sky images requires the camera to completely still during a shoot, which can range from 10-30 seconds up to a few minutes per exposure.
Because of this we simply can’t hold it by hand or else your images will be blurry and outright useless. So this is where a tripod comes in as the next necessary piece of equipment.
Pick the lightest but sturdy tripod so it can easily be moved around with you on your travels.
4. Plan Your Shoot
One of the great things about capturing night sky images is you can set up just about anywhere during the night. Don’t feel like going out to photography? Then grab your equipment and set up in your backyard. Anywhere that gives you enough area to set up and is away from any type of light source.
5. Learn The 500 Rule
If this is the first time you’ve heard this phrase then keep reading as I’ll describe quickly what it is.
It is a way to calculate how long you can leave your camera shutter open during a night photo shoot as to avoid star trails in your images.
The rule is this:
500 (divided by) Focal length of lense = the maximum exposure time you set before you get the star trail effect in your images.
6. Use a Camera Delay Timer
A delay timer is a necessity when it comes to night photography. Capturing night images requires the camera lens to stay open for longer periods of time to allow more light to enter the sensor.
This means that even the slightest movement while the sensor/lens is open then you will get image blur in your images.
The solution to this is one of 2 things. First is to use the camera’s built-in timer feature that is built-in. Setting it to a 10 second (self-timer) before the camera starts to take a photo to eliminate all possibility of you accidentally moving the camera while pressing the button.
The other option is to use an accessory called an intervalometer, this is a small device that you plug into your camera with a cable.
Its allows you to stand back and “remotely” press the shutter button on your camera, again eliminating any possibility of camera shakes while pressing the shutter button.
7. Focus On A Bright Star
The autofocus feature is basically useless during the night as it can’t “see” an object to focus on. The best way to get your focus set when taking night images is to set your lens focus to manual mode and aim your camera at the brightest star.
From there manually adjust your focus until you get the star as sharp as possible in your focus. This is usually near the “infinity” symbol on your camera lens. I usually recommend people to start their lens focus at infinity and slightly adjust from there.
Tip: Use the live view feature of your camera, this makes it considerably easier to see how well your focusing rather than using the viewfinder.
8. ISO Settings
This setting increases your camera’s sensitivity to light. The higher the setting the brighter the final image will be. This comes at a cost though, raising it too much and you start to introduce static into the image (called noise).
A good starting ISO range is between 800 – 1600. If still too dark then you can increase the ISO higher, just know that the more you do the more “noise” you’ll introduce into your images.
9. Shoot In RAW Mode
When photographing casual images during the day, JPEG format is fine. But when you’re photographing during the night, every bit of image data is crucial so we always recommend setting you’re save files to RAW format.
We need as much image data as possible because during the post-production process you’ll need those wide dynamic ranges of data when editing in something like Photoshop.
Conclusion
Night photography may seem a little tricky at first, but it doesn’t have to be. With a few quick tips, you can be out there photographing the night sky in no time.
Bio:
Charles Wade
Charles is an avid photographer who took up astrophotography due to his fascination with space and astrology and instantly fell in love with capturing the amazing and beautiful night sky images.
He has been continuously learning over the last 7 years and on most clear nights you can find him in the backyard testing and tweaking, always trying to get that perfect shot.
He now shares what he has learnt on his blog at nightskypix.com, hoping to share and teach others this information. Charles mission is to give readers clear actionable advice so they don’t feel overwhelmed.


One thought on “9 Tips To Improve Your Astrophotography Images”